Burning Forest
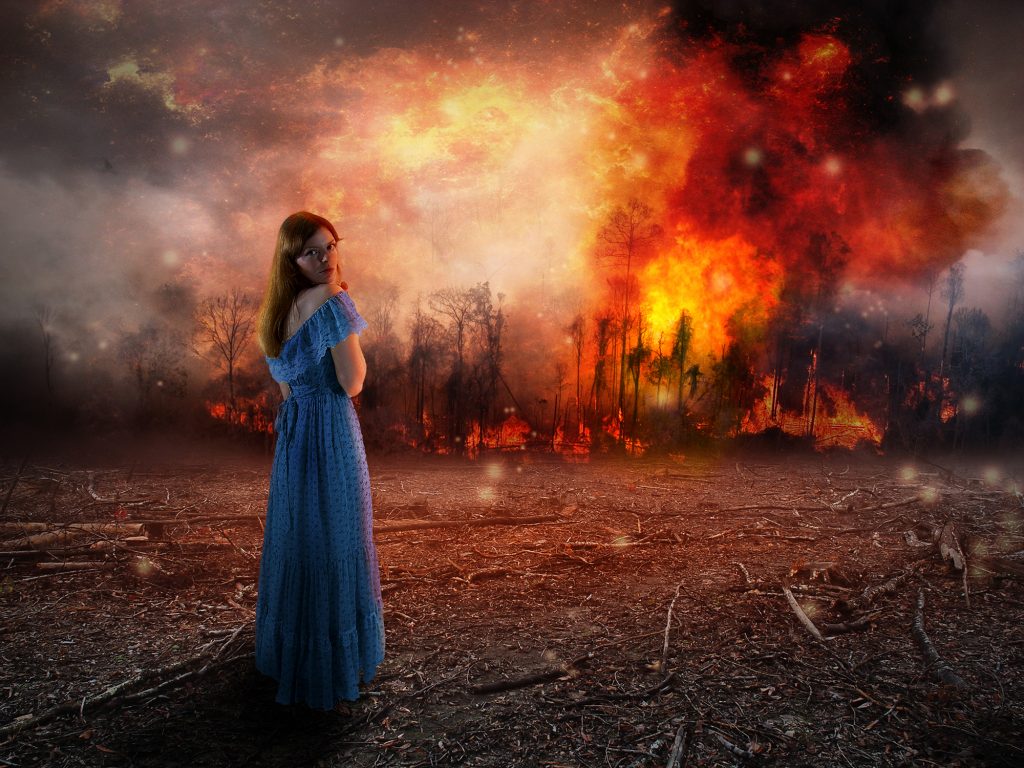
Photoshop Tutorial – ‘Burning Forest’
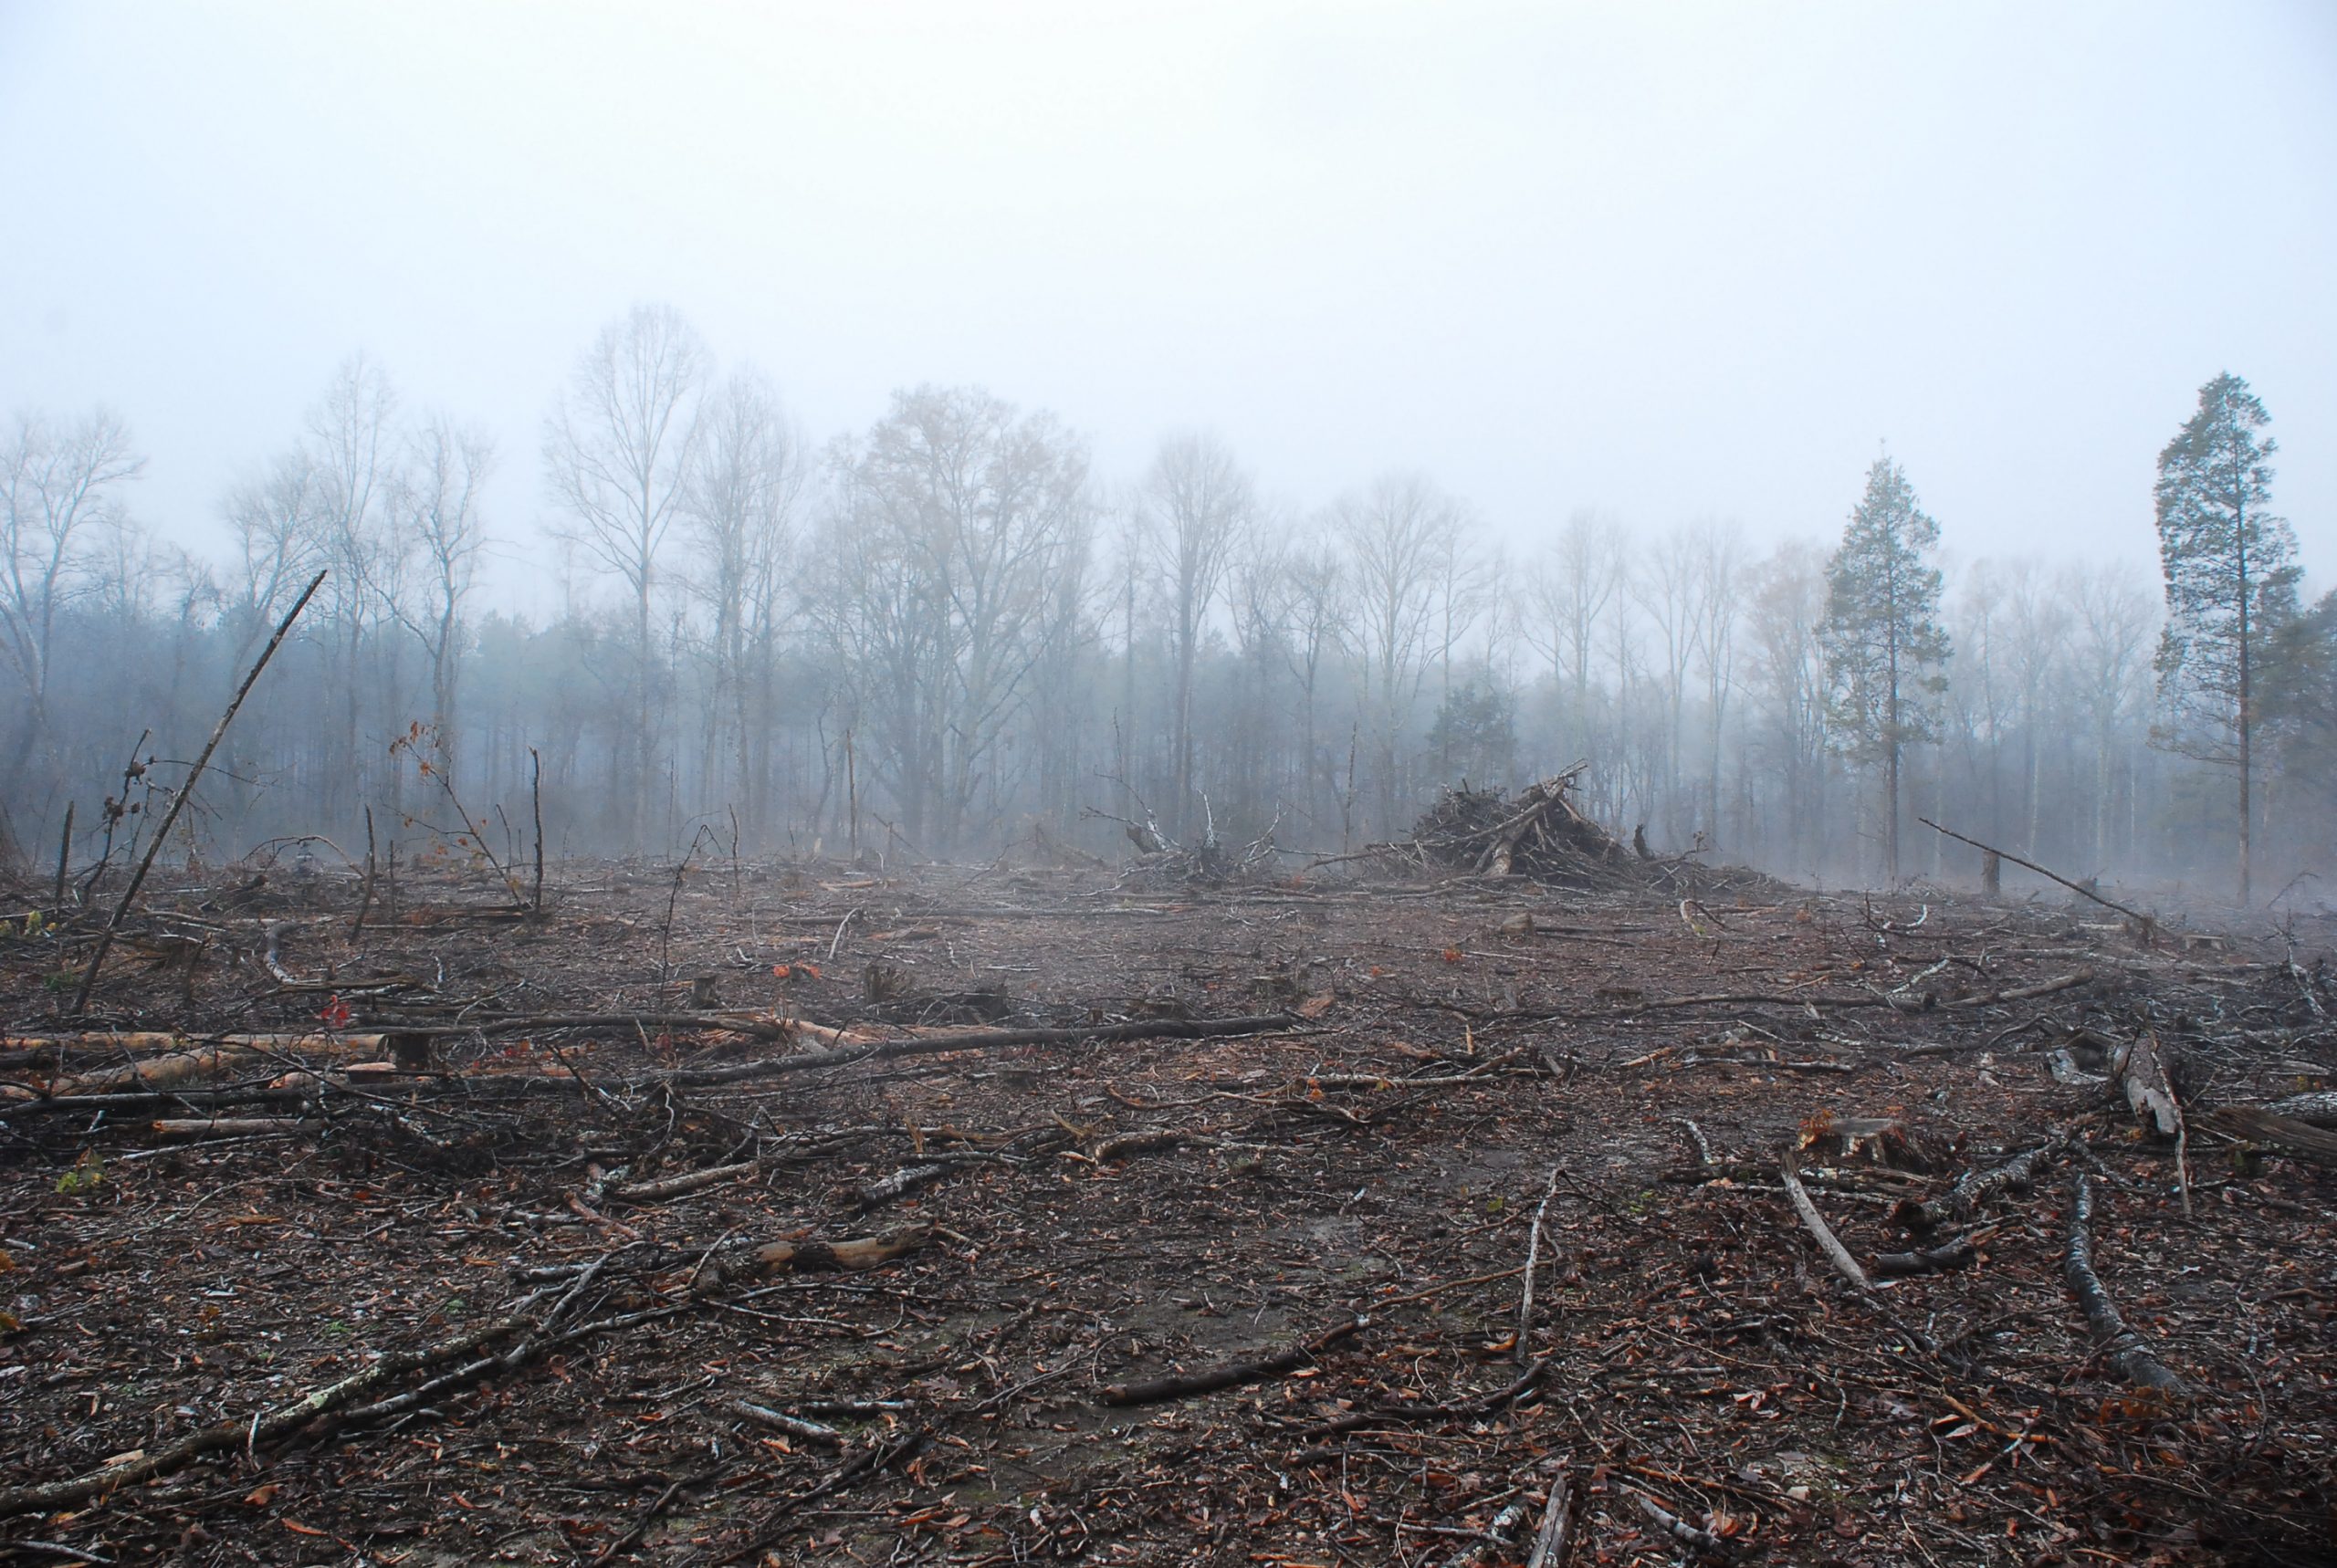
We start with 6 photo : woods.jpg
Start
Open a new document.
Open the photo ‘woods.jpg’ and import it into the main document.
Re-size and position so the ground covers the bottom half of the document.
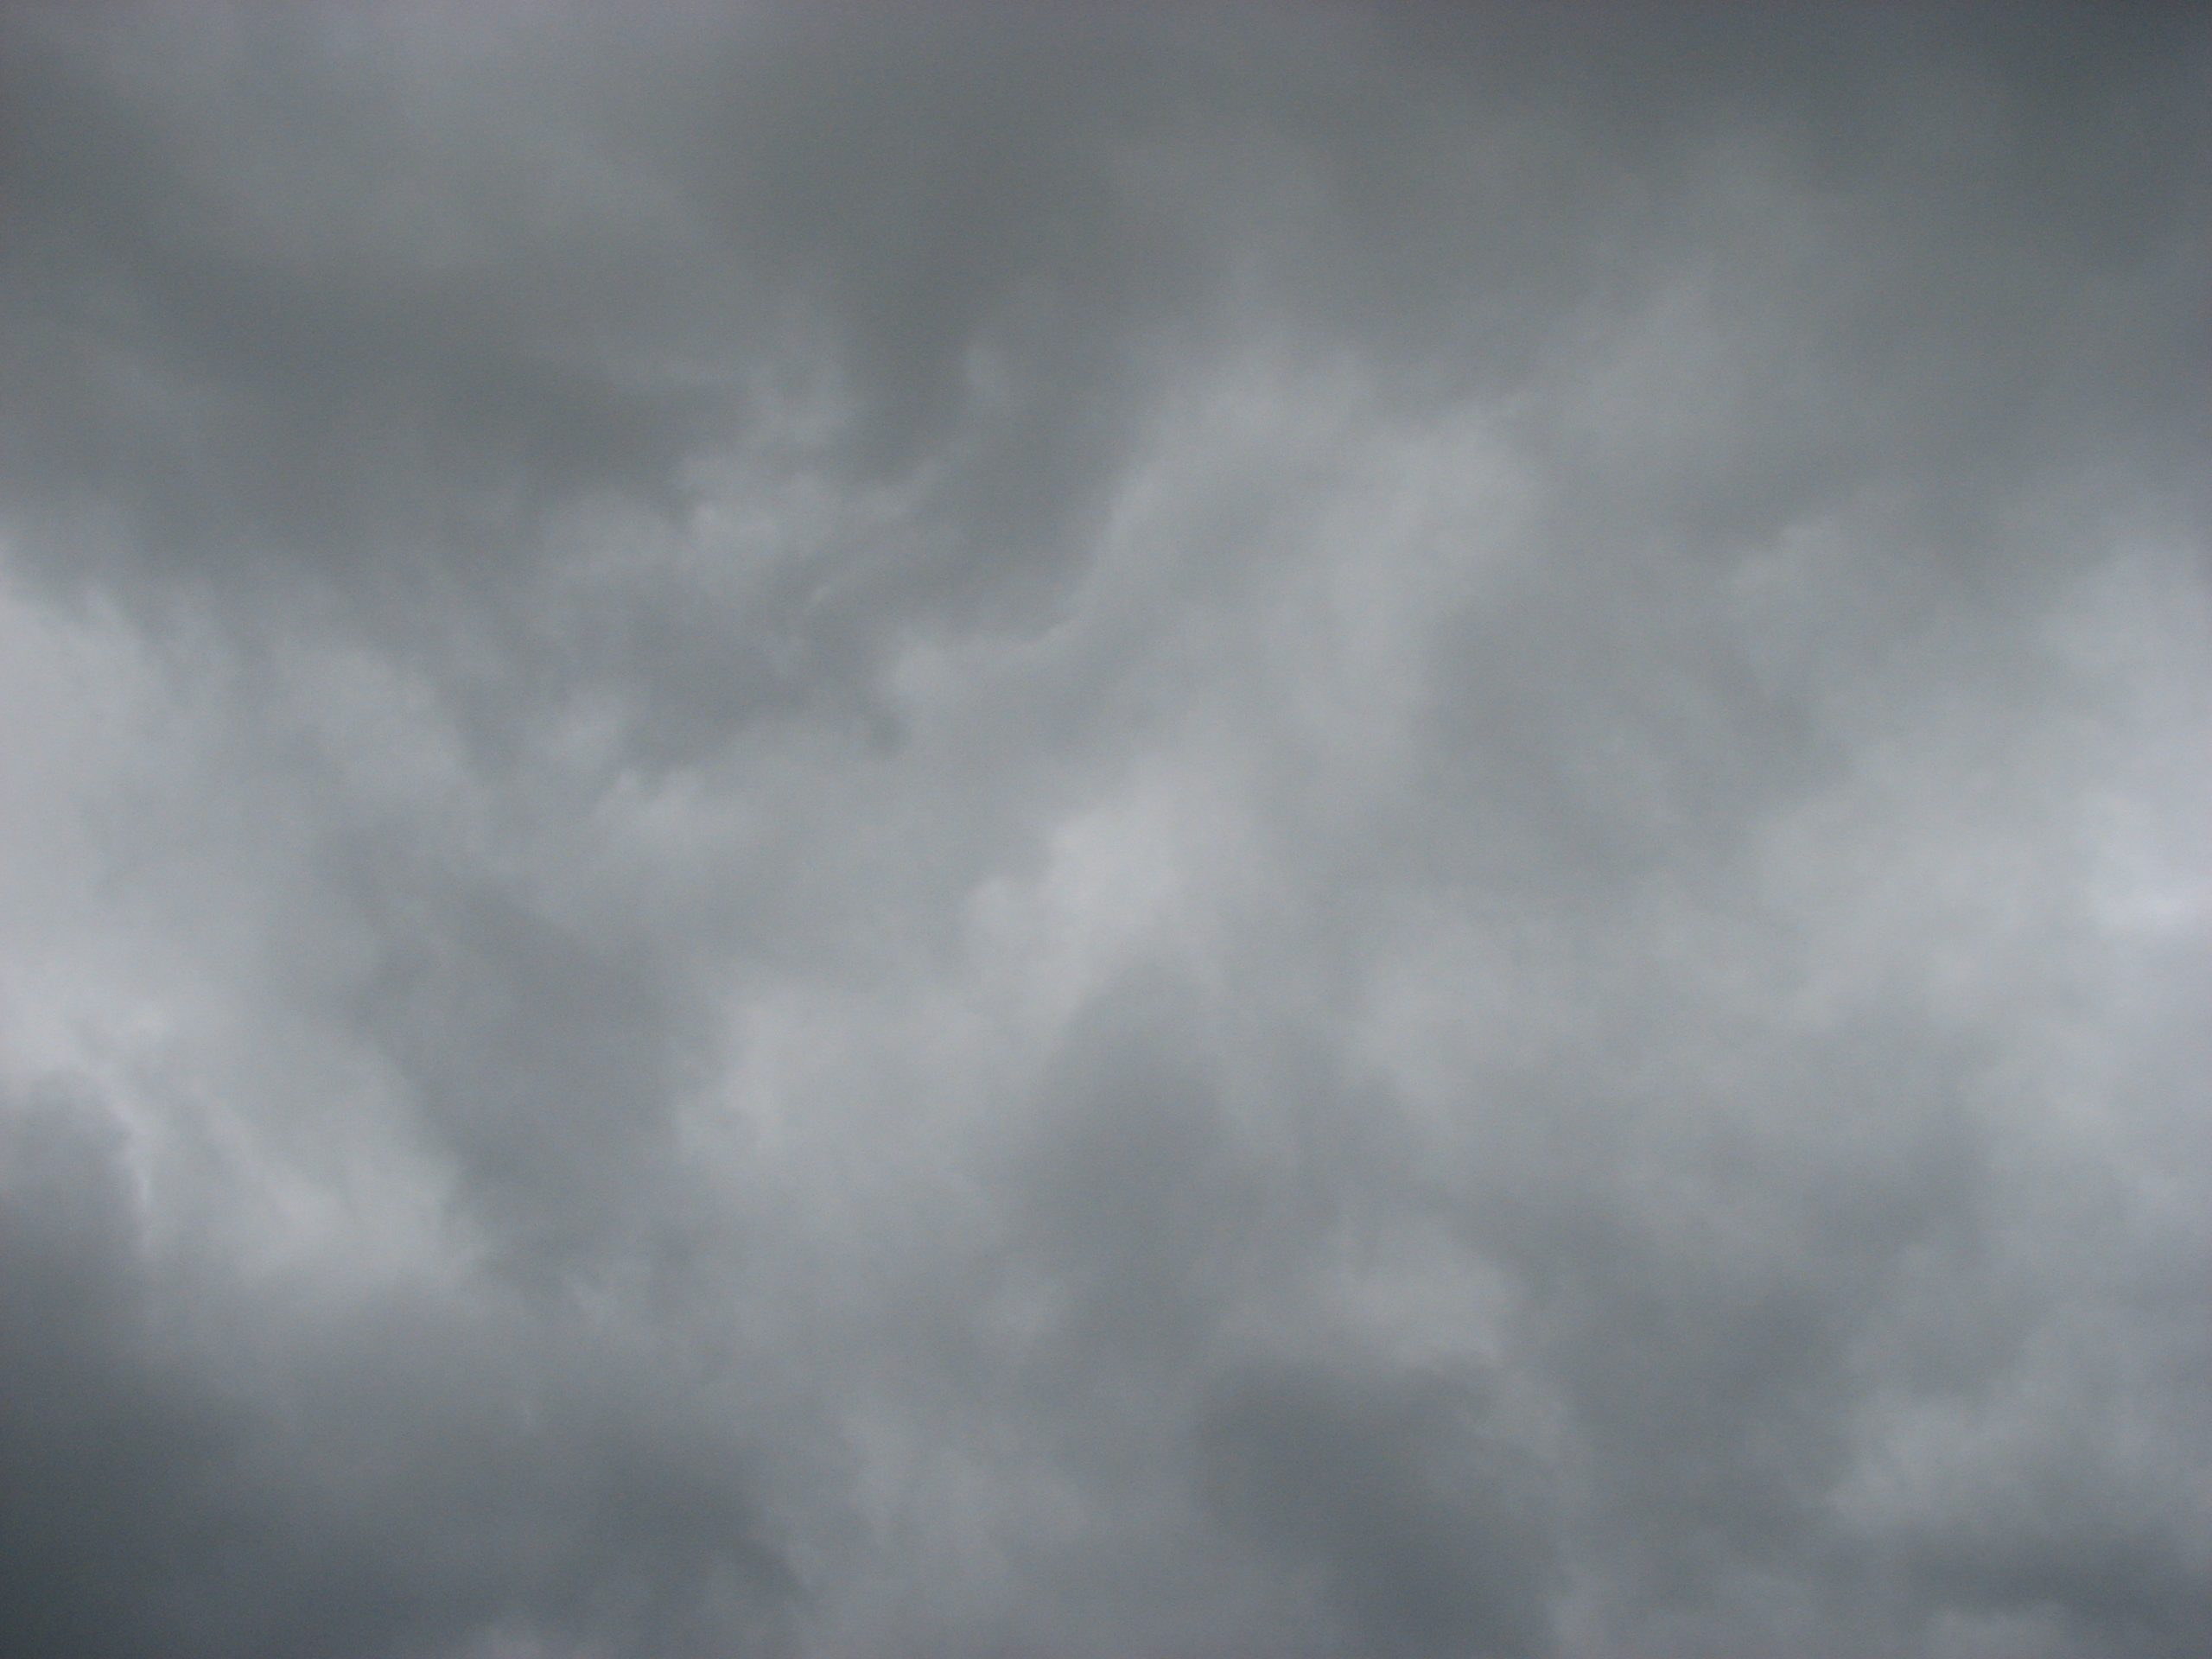
Open the photo ‘cloud.jpg’ and import it into the main document.
Re-size and position to the top and to slightly cover the ground (hold down ‘Shift’ to distort the shape).
Click the ‘Add layer mask’ icon at the bottom of the Layers Window.
With a soft black brush paint away the bottom of the ‘cloud’ layer (using the ‘feather’ part of the brush) so it blends into the ground.
Fire
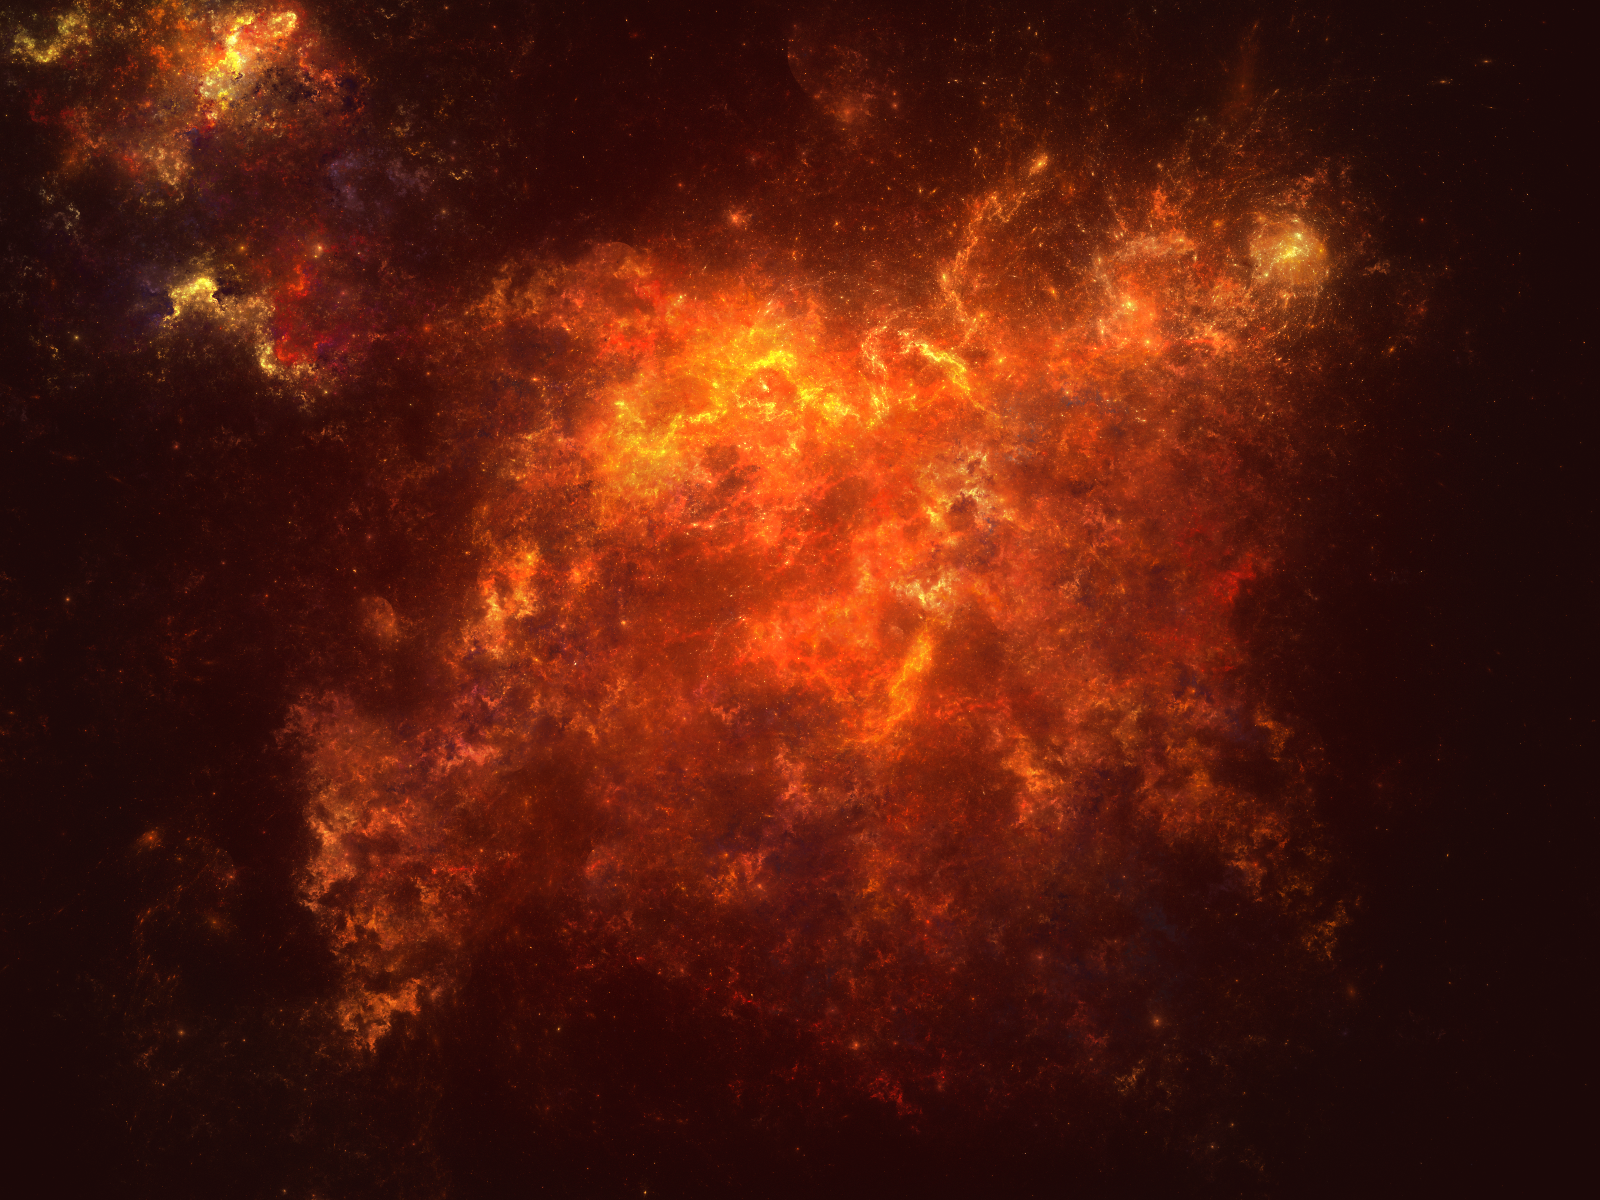
Open the photo ‘texture.jpg’ and import it into the main document.
Re-size and position to cover the ‘sky’ (hold down ‘Shift’ to distort the shape).
Change ‘blending mode’ to ‘soft light’.
Click the ‘Add layer mask’ icon at the bottom of the Layers Window.
With a soft black brush paint away the bottom of the ‘texture’ layer (using the ‘feather’ part of the brush) so it blends into the ground.
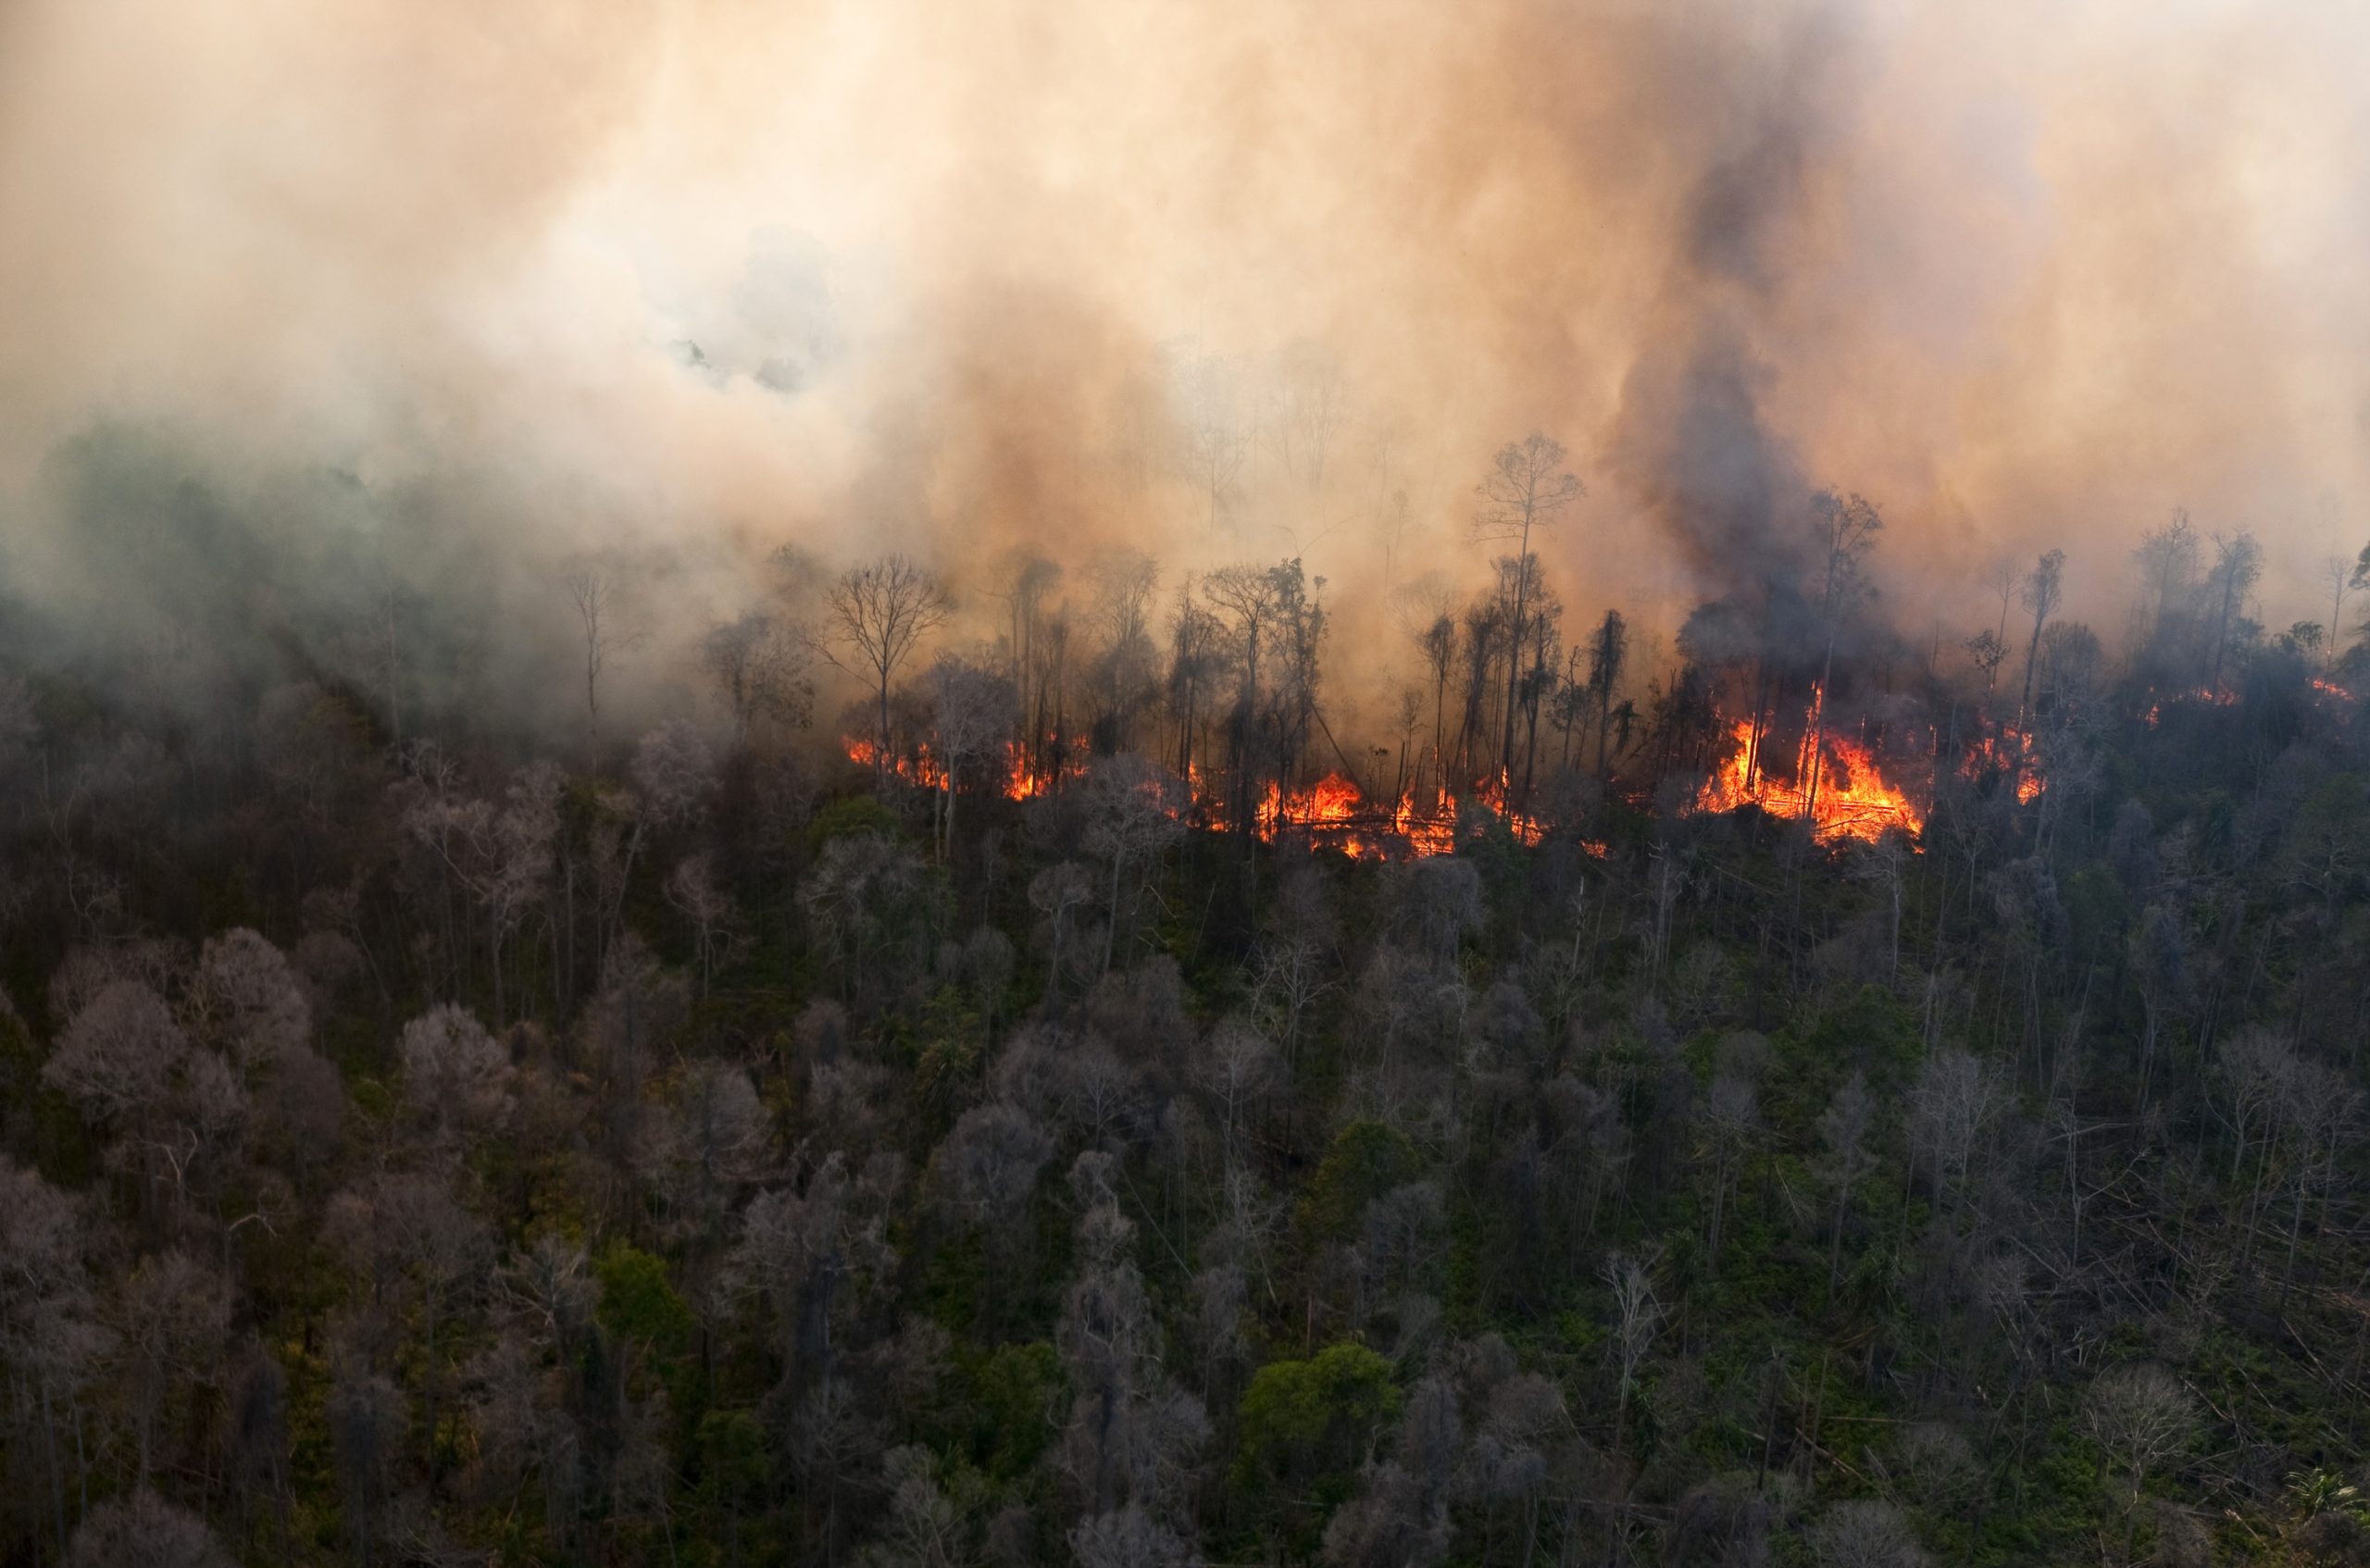
Open the photo ‘forest fire.jpg’ and import it into the main document.
Change ‘blending mode’ to ‘overlay’.
Re-size and position the ‘forest fire’ along the horizon.
Click the ‘Add layer mask’ icon at the bottom of the Layers Window.
With a soft black brush paint away the bottom part of the ‘texture’ layer, up to the actual fire (remember that you can check your ‘layer mask’ by ‘Alt+clicking’ the ‘layer mask’, painting in any parts you missed, then ‘Alt+clicking’ the ‘layer mask’ again to return to the normal view).
Open the photo ‘plane crash.jpg’.
Click the ‘Add layer mask’ icon at the bottom of the Layers Window.
With a soft black brush paint away the parts you don’t want.
Import into the main document, re-size and position the ‘flame’ on the right third of the image.
Change ‘blending mode’ to ‘overlay’.
Glow
Click the ‘Add new layer’ icon at the bottom of the Layers Window and move it to the top of the ‘layers stack’.
Select the ‘foreground colour’ and select a red from the ‘flame’.
With a really big, soft brush, click to paint a red splotch.
Select the ‘Move tool’ from the left side toolbar, while holding down ‘Shift’, stretch the blotch out on both sides and compress it, re-position to be the glow on the ground in front of the fire.
Change ‘blending mode’ to ‘soft light’ and adjust ‘opacity’ to suit.
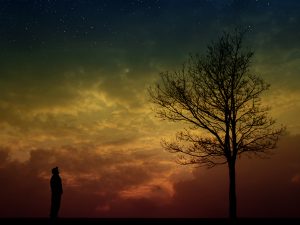
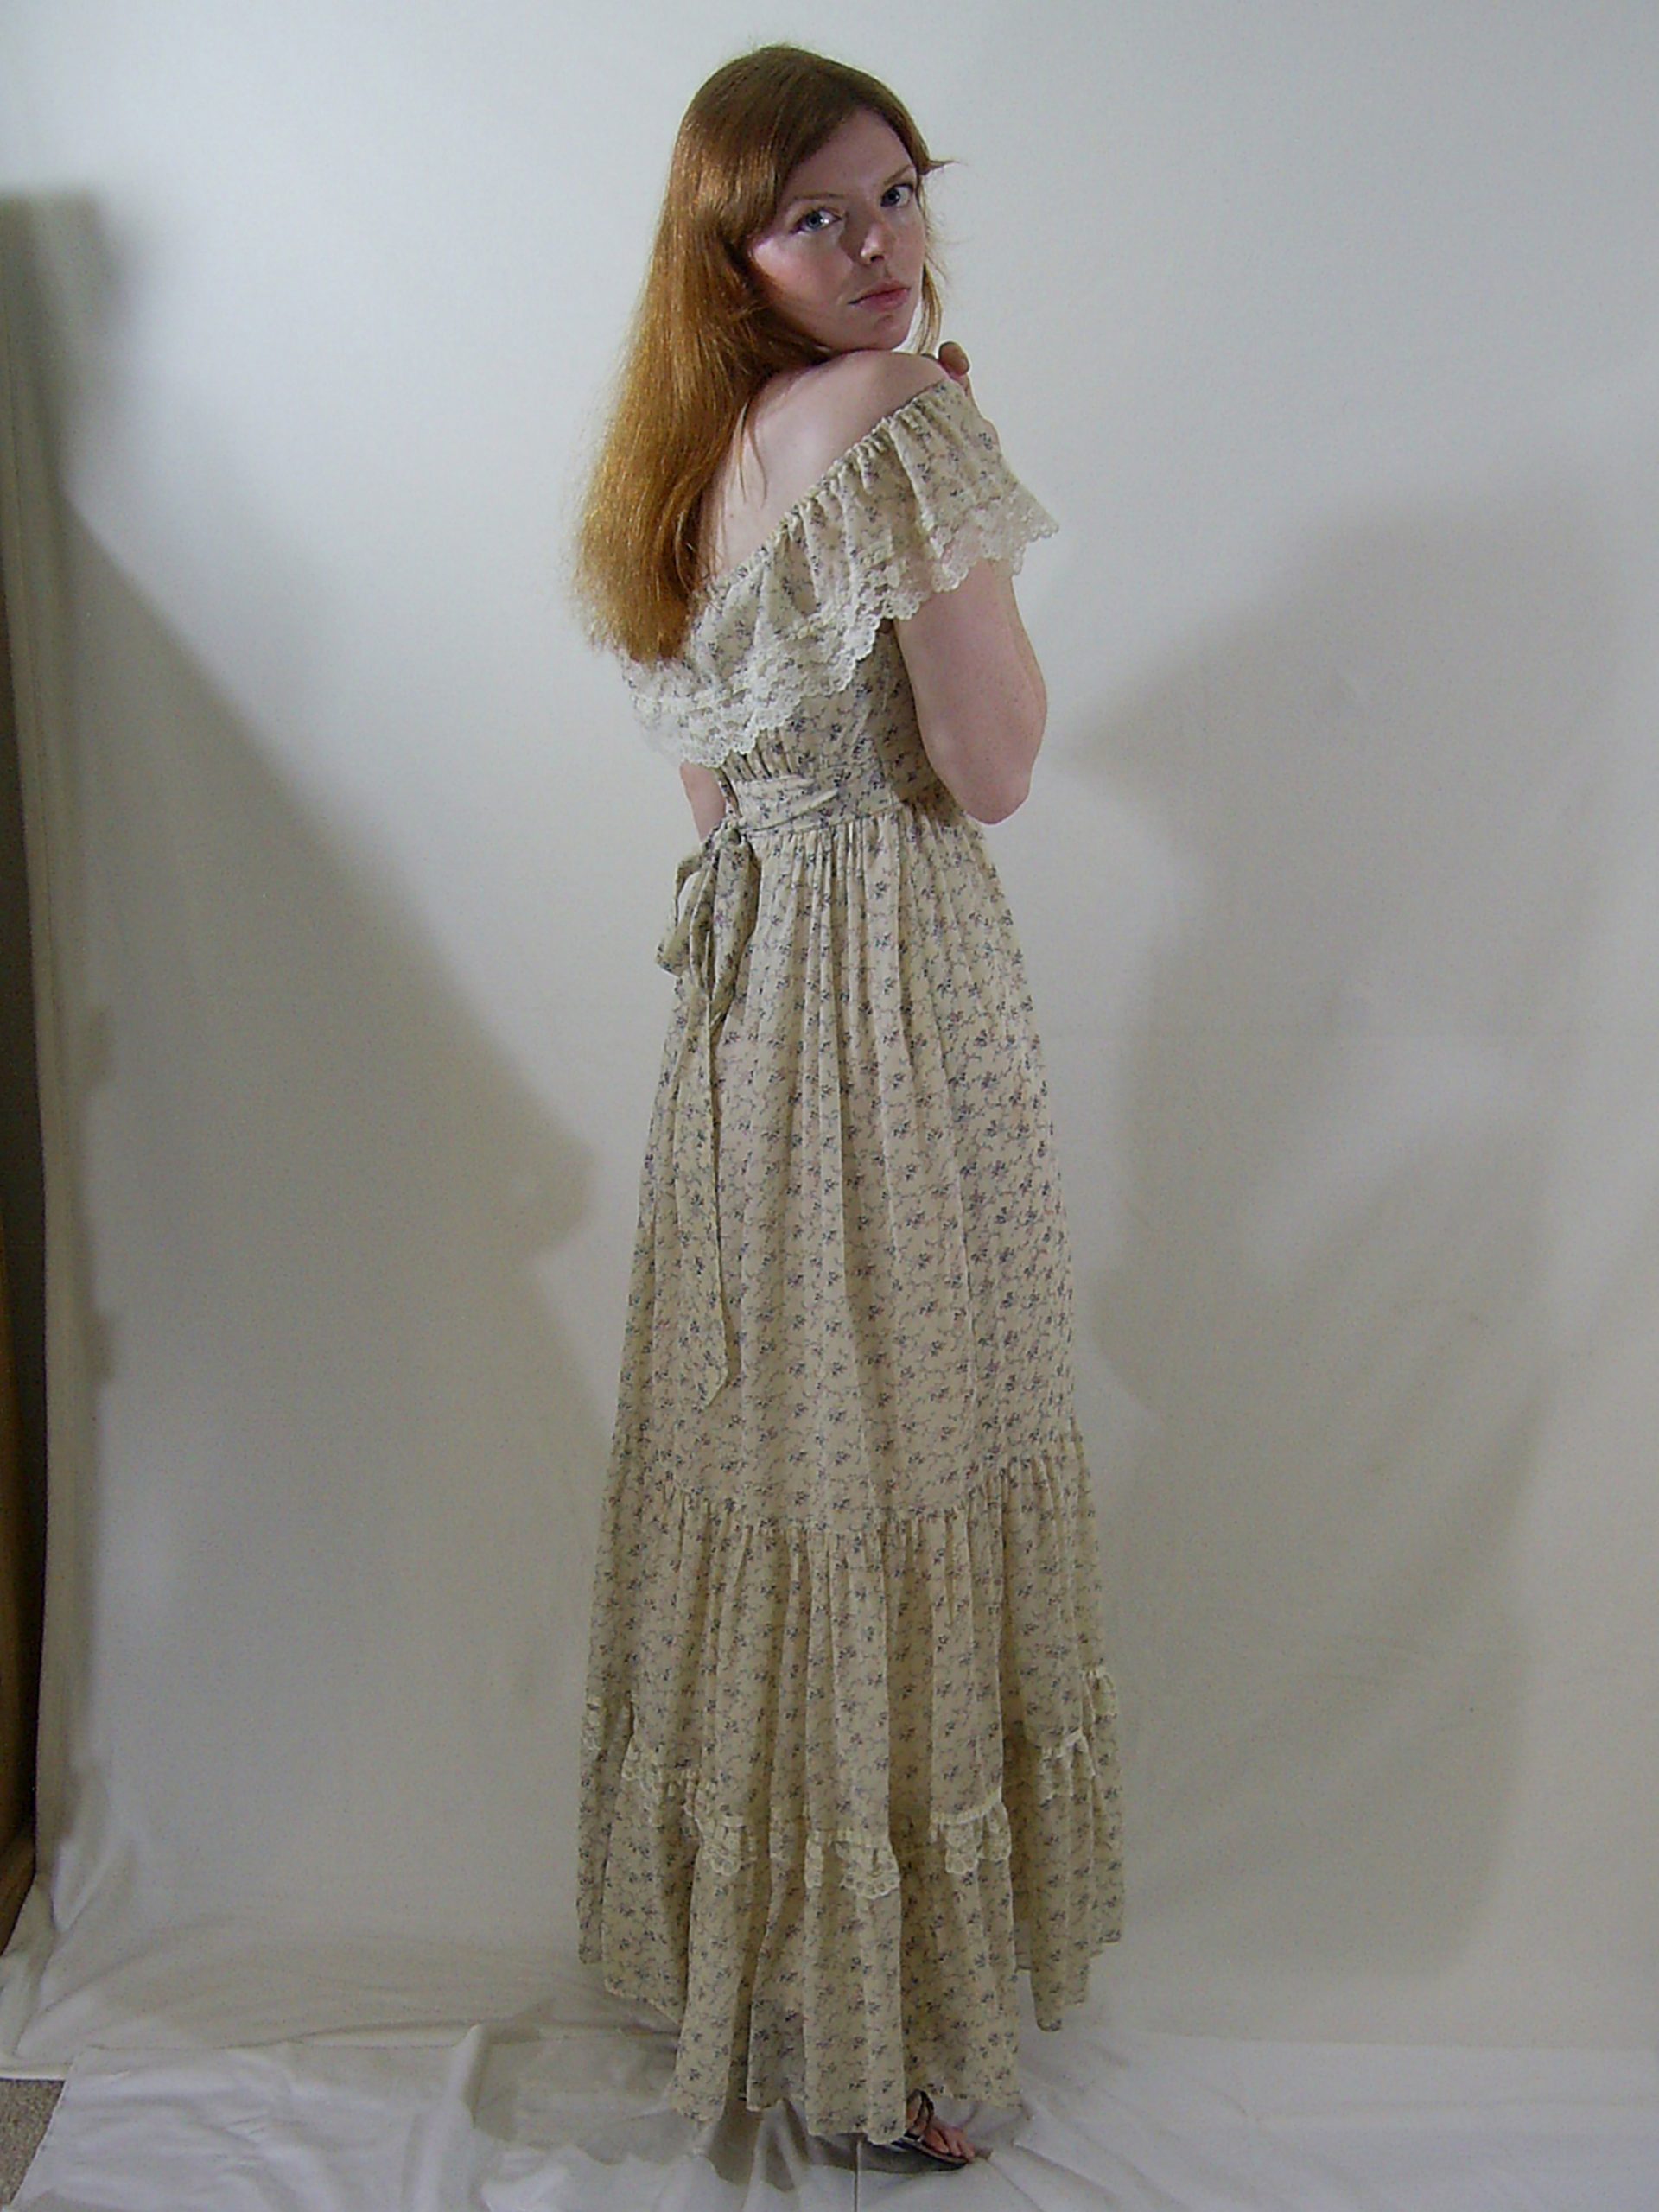
Model
Open the photo ‘model.jpg’.
Select>Subject.
Select the ‘polygonal selection tool’ from the left side toolbar, by keeping ‘Shift’ pressed you can add to the selection or by keeping ‘Alt’ pressed, delete from the selection.
Click ‘Select and Mask’ from the second top menu bar.
Select ‘Refine Brush’ from the left side toolbar (second from the top) and run it around her hair.
‘Feather’ by .5 pixel.
‘Shift Edge’ -10%.
Tick ‘Decontaminate Colours’ than ‘OK’.
Select the ‘Layer Mask’, right click and select ‘Apply Layer Mask’.
Import this layer into the main document.
Re-size and position in the left third.
Click the ‘create new layer’ icon at the bottom of the ‘layers window’ and move it to be just below the ‘model’ layer.
With a soft black brush paint in the models shadow, adjust ‘opacity’ to suit.
Click the ‘create new layer’ icon at the bottom of the ‘layers window’
With a soft black brush paint in the darker part of the models shadow, adjust ‘opacity’ to suit.
Coloured Frock
Select the ‘model’ layer then ‘Ctrl+click’ it (this will select the model).
Select the ‘polygonal selection tool’ from the left side toolbar (by keeping ‘Alt’ pressed you can delete from the selection).
Remove from the selection any parts that are not the dress.
Click the Add new fill or adjustment layer’ icon at the bottom of the Layers Window and select ‘Hue/Saturation’ attach this to the layer by ‘Alt’ clicking between the two layers.
Click the ‘Colorize’ box and adjust –
‘Hue’ to 196.
‘Saturation’ to 40.
‘Lightness’ to -15.
Lighting
Click the Add new fill or adjustment layer’ icon at the bottom of the Layers Window and select ‘Hue/Saturation’ attach this to the layer by ‘Alt’ clicking between the two layers.
Adjust the ‘Lightness’ to about -30
Click the ‘create new layer’ icon at the bottom of the ‘layers window’ and attach it to the ‘model’ layer by ‘Alt+clicking’ between them.
Edit>Fill 50% grey and change the ‘blending mode’ to ‘overlay’.
Select the ‘dodge tool’ from the left side toolbar set ‘Exposure to 100% and ‘Range’ to ‘Midtones’.
Paint down the side of the model facing the flames, we did this twice.
‘Right Click’ the ‘dodge tool’ on the left side toolbar and select the ‘Burn Tool’ set ‘Exposure to 50%.
Darken the back area of the ‘model’ to add shadow (if you go to dark just use the ‘dodge tool’ to remove some of the darkness).
Click the Add new layer’ icon at the bottom of the Layers Window and attach this to the layer by ‘Alt’ clicking between the two layers.
Select the ‘foreground colour’ and select a red from the ‘flame’.
Paint down the side of the model facing the flames, change ‘blending mode’ to ‘soft light’ and adjust ‘opacity’ to suit (about 50% should do).
Finishing
Select the top layer in the ‘layers stack’.
Click the ‘Create new fill or adjustment layer’ icon at the bottom of the Layers Window and select ‘Gradient Map’ – select a black to white gradient – change the ‘blending mode’ to ‘soft light’ – reduce ‘opacity’ to suit (round about 20% – this increases the contrast).
Click the ‘create new layer’ icon at the bottom of the ‘layers window’ and move it to the top of the ‘layers stack’.
With a large soft black brush at 20% opacity – paint in a vignette, repeat until you get the desired effect.
Note on Sparks
After the tutorial I was asked “why I didn’t include sparks”, I replied that “I did not think the image needed it”.
I stand corrected, I included sparks (well, sort of sparks) while writing this tutorial and it did in fact enhance the image.
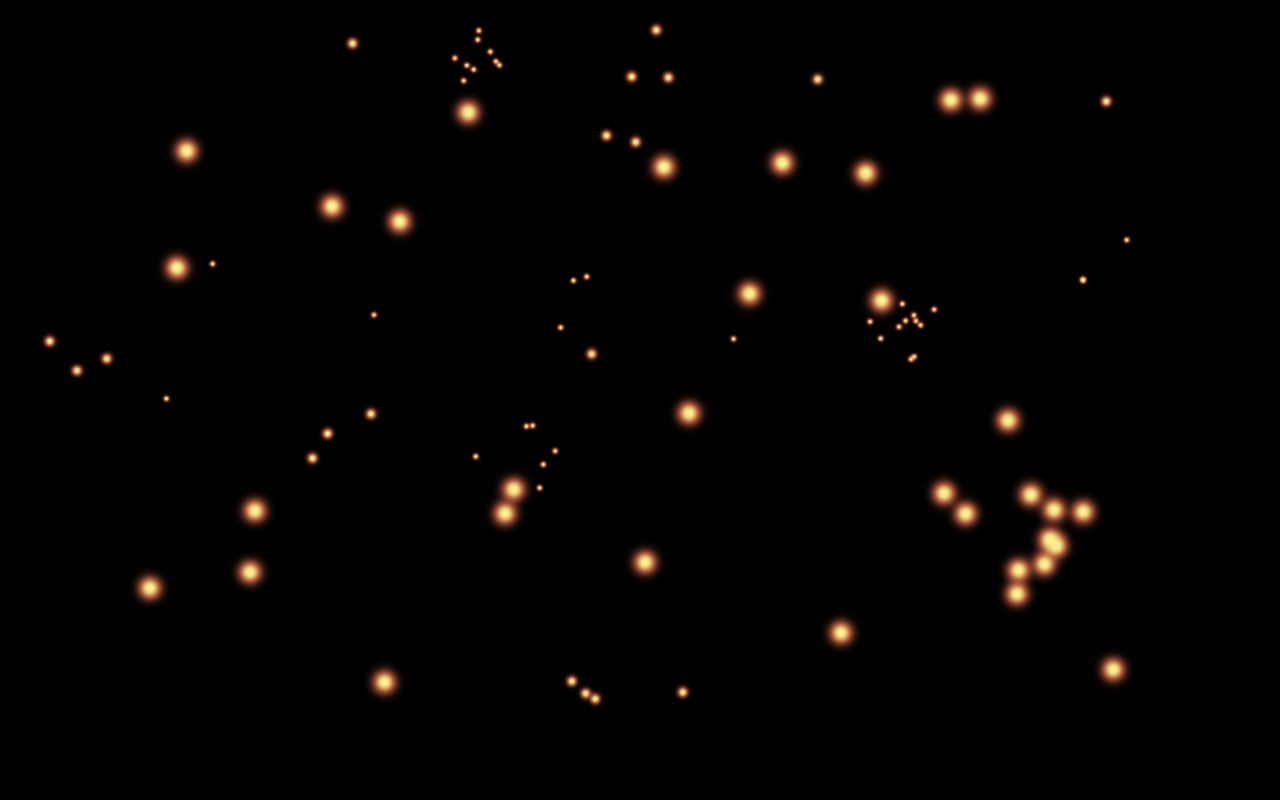
So I include the image I used to create the air born debris along with these notes :-
Import the photo ‘sparks.jpg‘ and move the layer to be just below the ‘Gradient Map 1’ layer.
Re-size to cover the whole document and change ‘blending mode’ to ‘screen’.
Click the ‘Add layer mask’ icon at the bottom of the Layers Window.
With a soft black brush paint away any ‘sparks’ covering the ‘model’ then reduce ‘opacity’ to suit (about 30% should do it).
Bugger… I hate being wrong….
