Making Window Reflections
Glass Window Effect
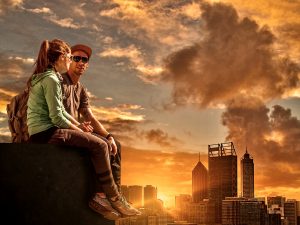
For this tutorial we are going to make your image look like it was taken through a window.
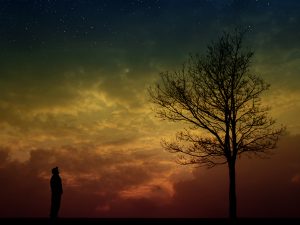
The choice of images are important – the first one should obviously look like it is indoors and the second (reflection) should be an outdoor scene. Street scenes work well for this.
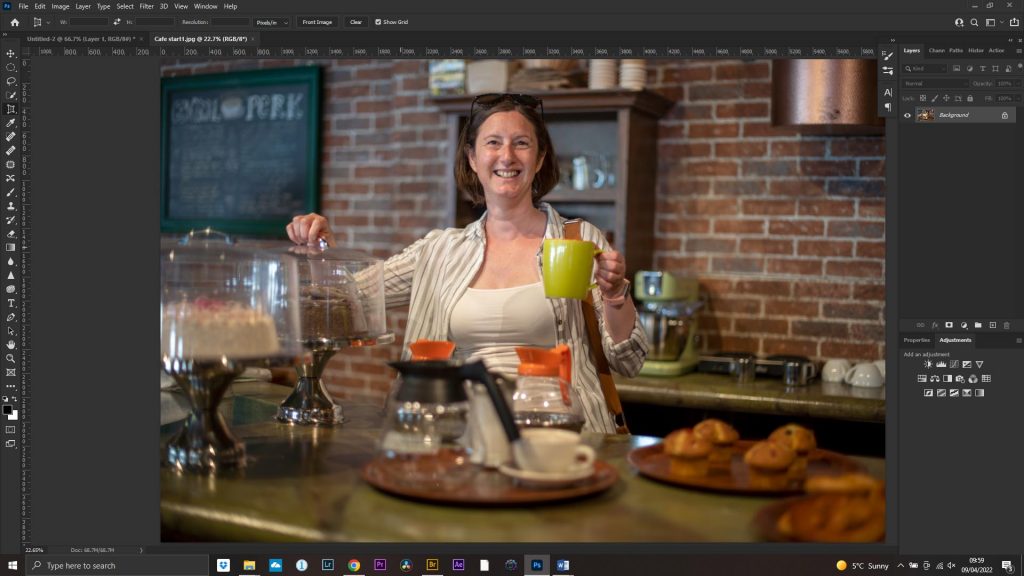
Open your start portrait image
Open your reflection image and drag it onto the portrait image. Here I am using a picture of the Customs House in South Shields.
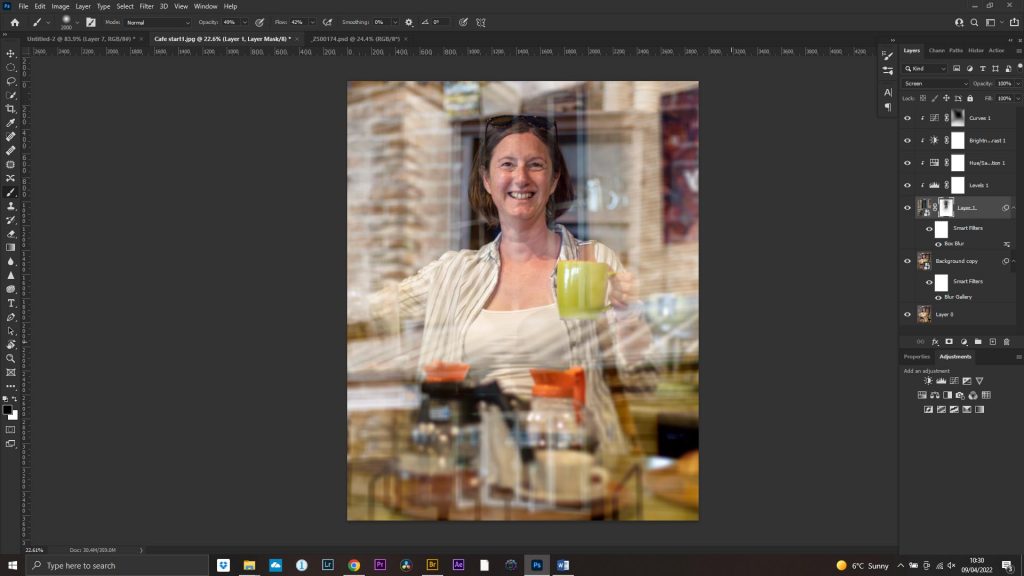
As I mentioned on Wednesday, sometimes the easiest way to put images together on separate layers is to use the word processing shortcuts. For example, after I opened the Customs house pics I used Select>Select All (Cntl+A), Edit>Copy (Cntl+C) then I went to the café pic and pasted this in using Edit>Paste (Cntl+V).

Resize, if needed.
Convert this layer to a smart object. We are going to apply a few filters and this allows us to easily change the settings later if we are not happy with them.
Select the layer in the layers palette and right click and choose Convert to Smart object (or Layer>Smart Objects>Convert to Smart Object). Little boxes will appear on the bottom corner of the icon.
Change the Blending Mode to Screen. If your image has writing it is best to flip it. Edit>Transform>Flip Horizontal or Cntl+T and right-click, choose flip horizontal. Re-position and resize the image so there aren’t any distractions over the face.
Blur>Gaussian or Box blur your image. About 35 should be a good starting point.
Open a Levels adjustment layer. Move the sliders until it looks window-like! Usually move the mid-tone slider to the right reduce contrast and move the lower white slider to the left. Clip this to the layer below by clicking the square with the downwards arrow or applying the adjustment layer and Alt+clicking between the layers.
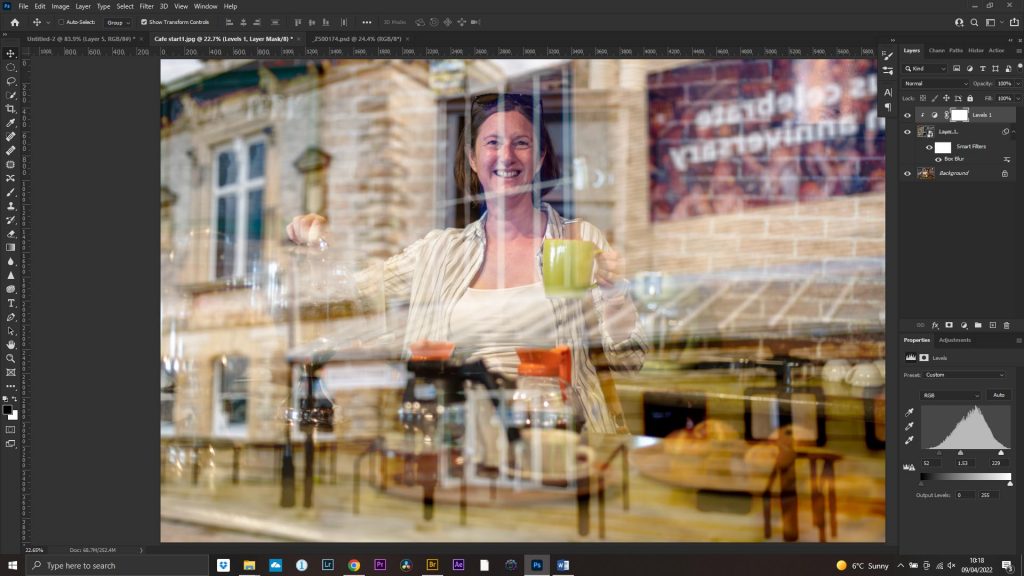
Use a clipped Hue/Saturation layer to bring down the saturation a bit and a clipped Brightness/Contrast to increase brightness and decrease contrast.
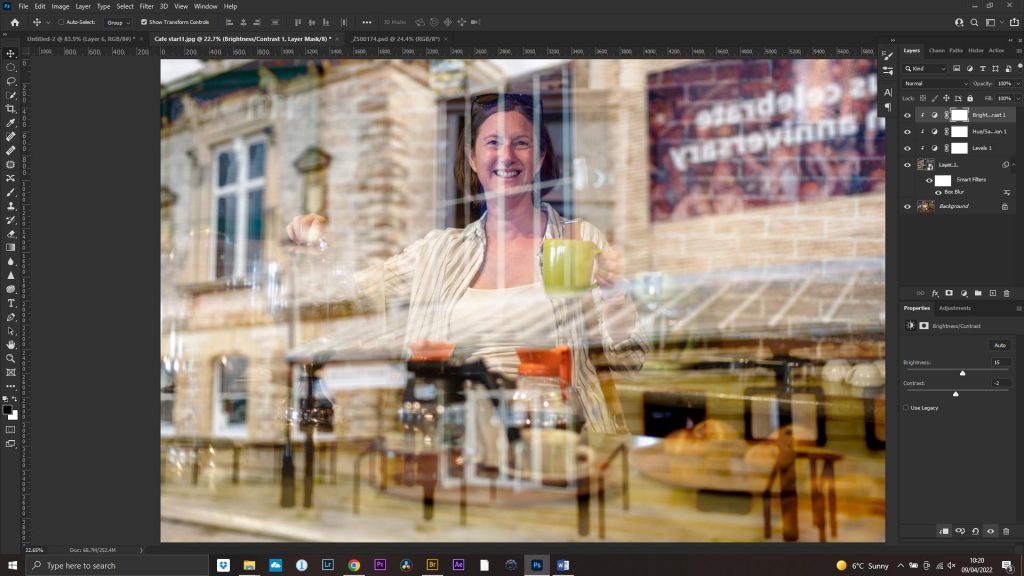
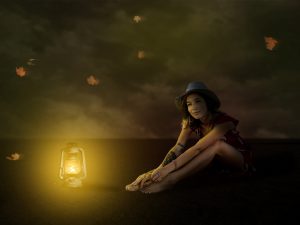
All of the layers are able to be adjusted if you think they need tweaked. Here I decided to crop further, remove some of the reflection over the face and darken the bottom part of the image using a curves layer and mask.
You can also use Filter>Blur Gallery>Iris Blur on the subject to draw more attention to the face. I made a copy of the background layer, converted this to a smart object before using this so I could tweak it, if needed.
Done!
Shortcut Tips: If you make a mistake the shortcut for Undo is Cntl+Z – I use this a lot!
If you are zoomed in and want to make the image full screen again use Cntl+0 (zero).