Stop the Noise!
Controlling Noise in your Photographs
Our discussion last meeting was all about Noise, how it occurs and how to deal with it in your photographs. The little bit of research I did on what is now available really opened my eyes!
Noise is any evident pixels that are either the wrong shade (luminosity noise) or wrong colour (colour noise). We talked about when these are likely to happen and in-camera methods on how to reduce their impact.
If we have to shoot under conditions where noise is likely (high ISO or long exposures), it is better to get a grainy, noisey picture than a blurred one or no picture at all! Modern software has become good at detecting and removing noise from your images – but some are better than others!
Traditionally, I would correct most of my image noise during the RAW conversion. Shooting in RAW allows you to push the image much further during the conversion than a JPEG image would.
Something like this:
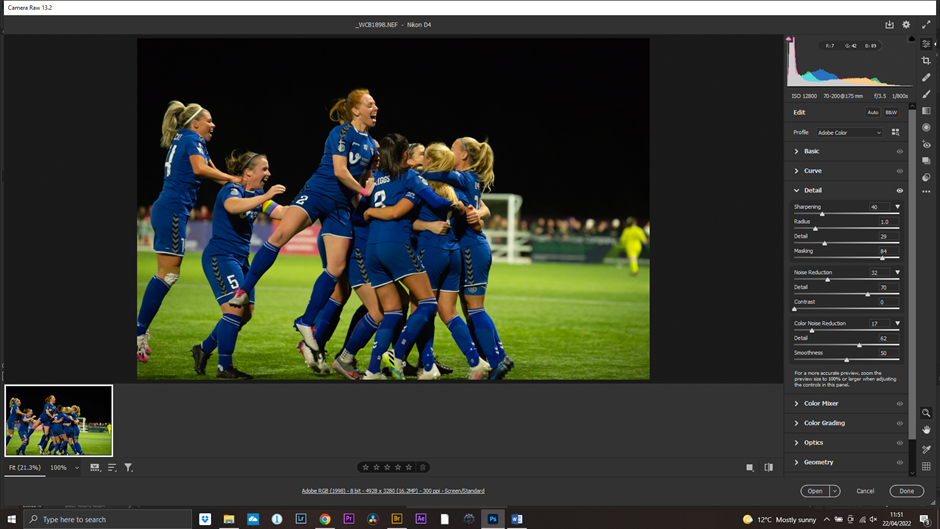
Open your RAW image in Adobe Camera RAW (ACR). Zoom in to 100%. [This football pic was shot at ISO 12800 on an old Nikon D4 camera under floodlights].
Under the details tab, move the noise slider to remove luminosity (grey grainy) noise. Use the details slider to return edge details which are starting to become soft.
Do the same for the colour noise sliders.
Tip: Adding a bit of sharpening can also return some detail. Move the sharpening slider up, but remember to move the masking slider to between 80-90% so we just sharpen the edge details.
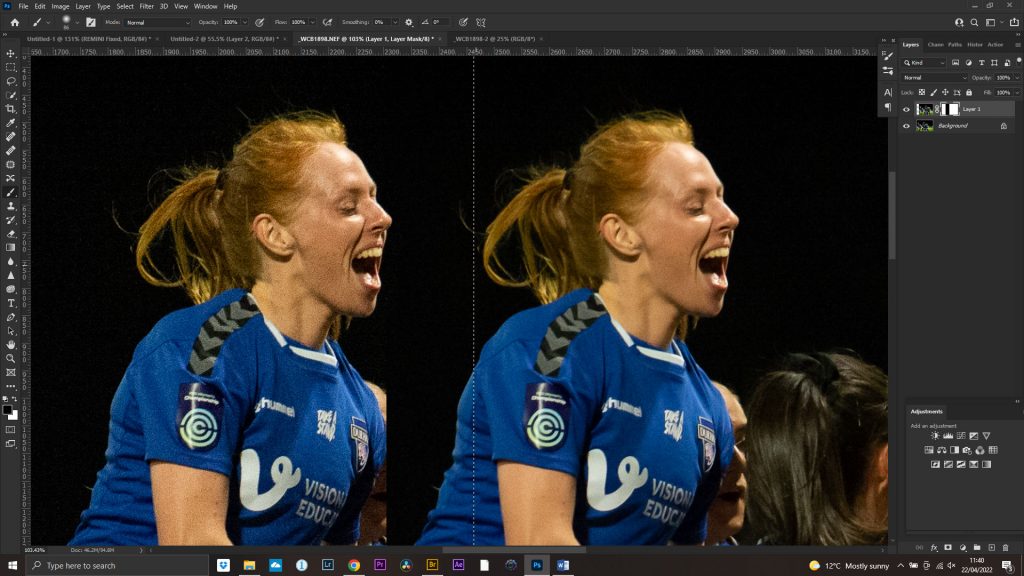
Removing Noise using Adobe Camera RAW – before and after
This technique will remove most of the noise, but the flip side is that the image will become softer. NB. Moving the Blacks and the Dehaze sliders in the Basic Tab can help, also.
What about in Photoshop?
There are filters in Photoshop. Filter>Noise>Denoise works okay, but is not the best.
Is there a better way?
If we want to get better results, we have to look at third party plug-ins. For both of these I am just going to use the Auto settings. You can use Manual settings to get better results, but the Auto will show the power of these plug-ins. Both of these require you to buy the plug-in, but allow you give it a try for free. However, Topaz will also add it’s own watermark.
Nik Dfine2.
This is part of the Nik Collection.

Nik Dfine2 – before and after
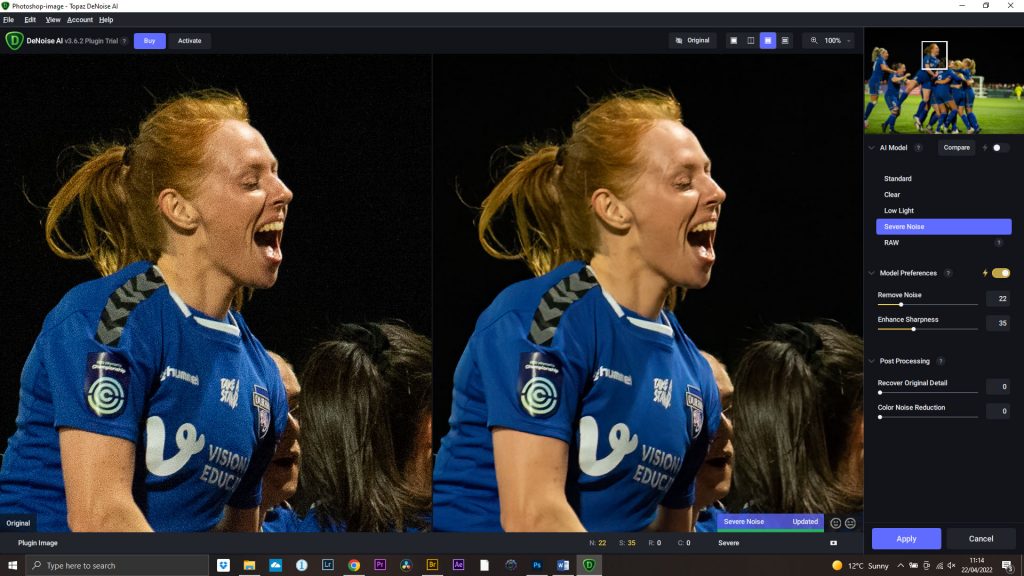
Topaz Denoise AI
Topaz Denoise AI – before and after
In conclusions, all of the above give good results, but I was very impressed with the amount of detail the Topaz Denoise AI kept. Might be worth an investment!
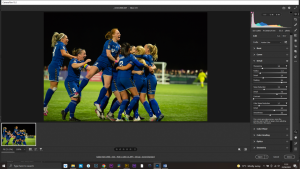
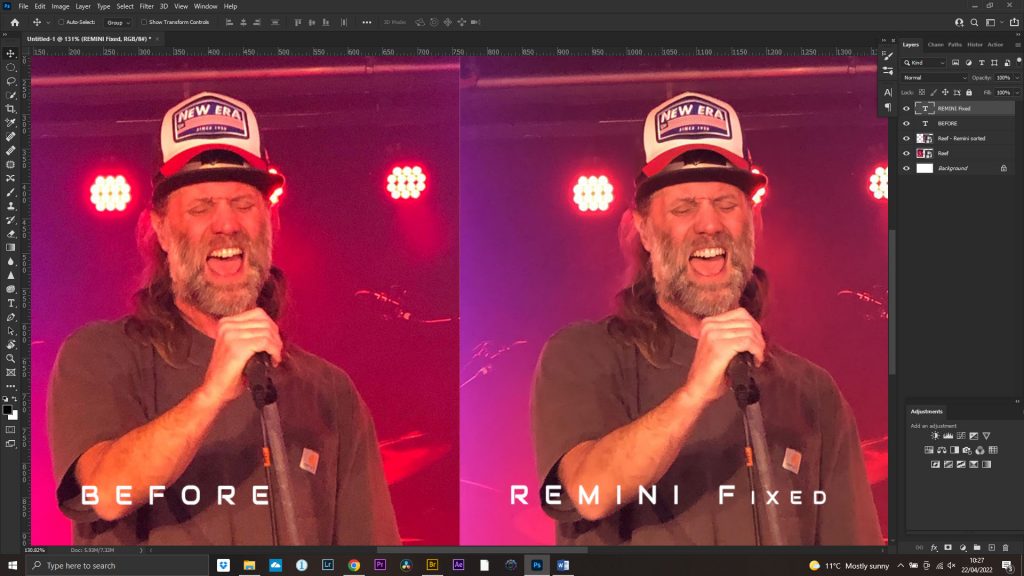
Phone Pic Fixes

The little phone app I showed you was called Remini. This will fix both noise and sharpen your images. Download it and have a play with it. I think it does really good for a free app. You have a limited amount of images you can fix each month and you have to watch a short video advert, but the results are definitely worth it. There is also a free 7-day trial for PC, but they will ask for your credit card details.
Done!