Using the Perspective Crop Tool
Using the Perspective Crop
This is a handy little tool to know about, especially if you like visiting museums and stately homes and ripping off their artwork!
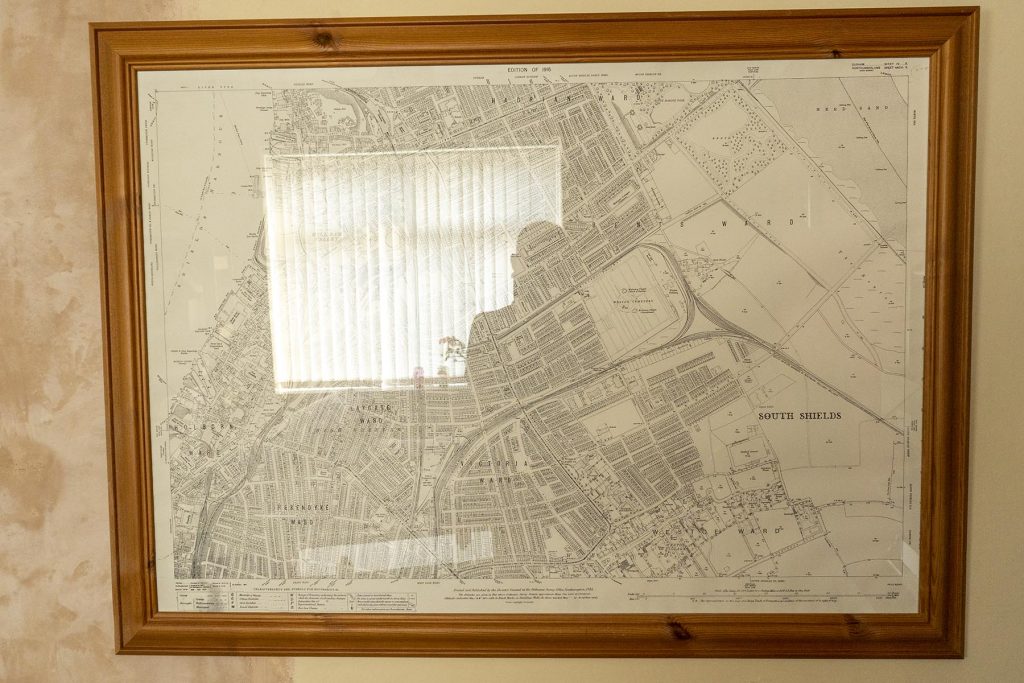
How many of us have tried to take photos of pictures behind glass and just got a poor shot with a camera in the shot!? Or you can’t get to the front to take a picture head-on and only from the side?!
Something like this!!
Don’t despair – this is where the Perspective Crop tool comes in!
Take a shot from the side so you and any reflections are not in the shot.
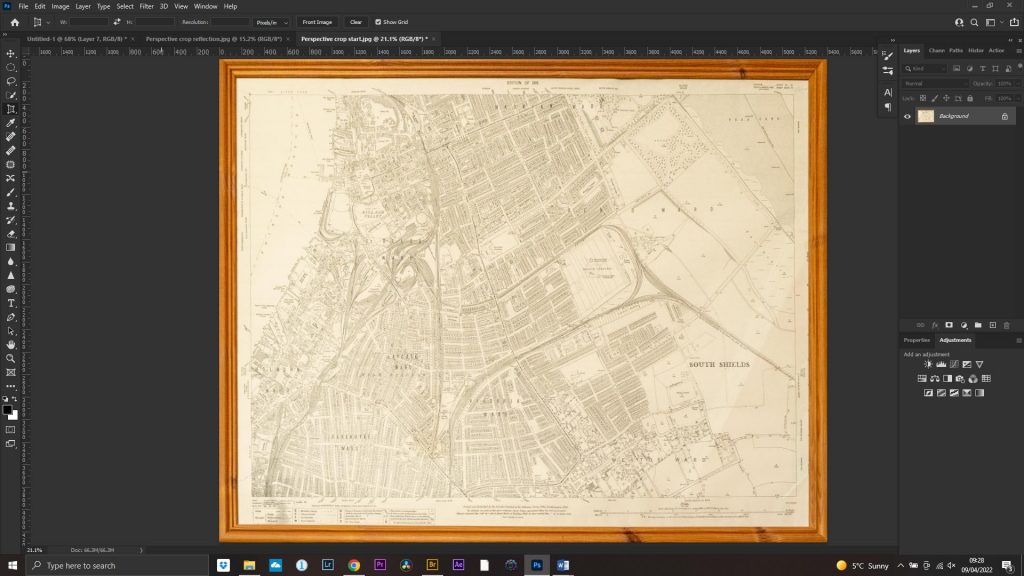
Open your image in Photoshop.
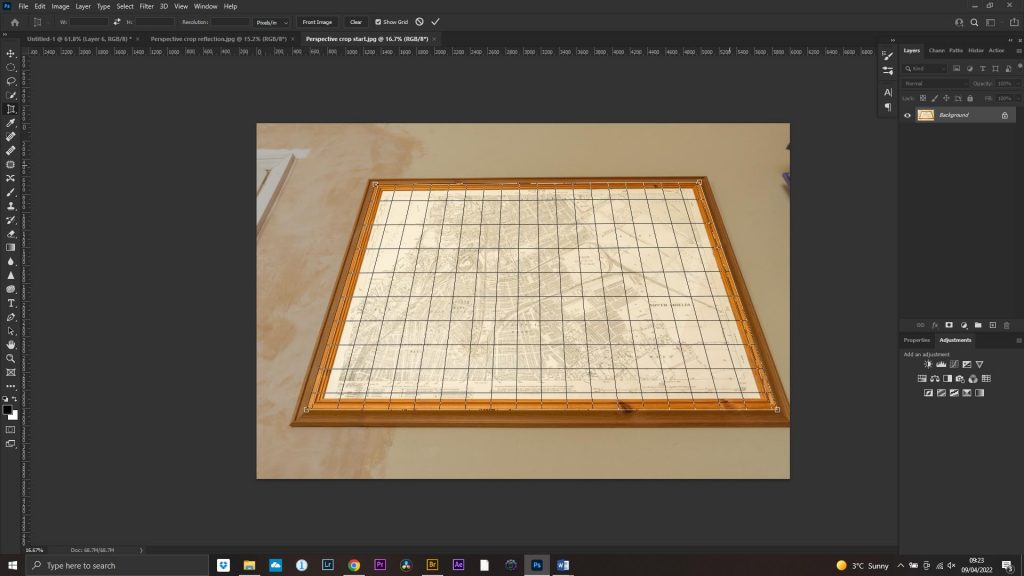
Find the Crop tool (Shortcut C). The perspective crop tool is hidden underneath. Click on the little triangle on the corner or Alt+click on the crop tool icon and choose Perspective Crop.
The perspective crop tool works by drawing along the sides then straightening everything out. It is sometimes easier to first draw a rectangle then move the corners to where you want them.
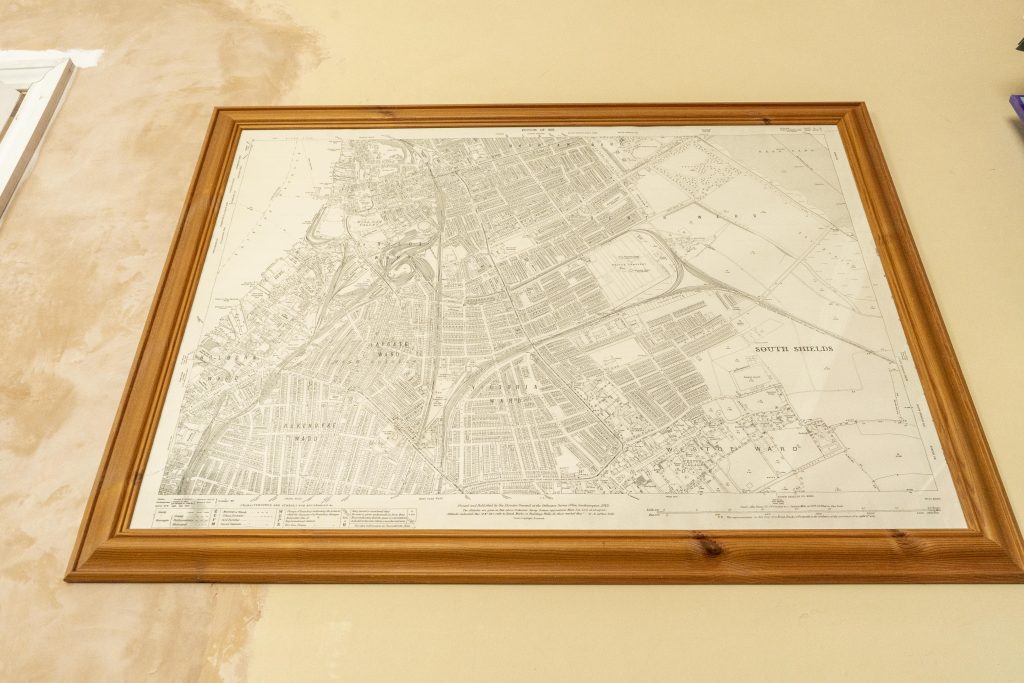
Click enter and the artwork will become square and look like you were standing in front of it!
Done!