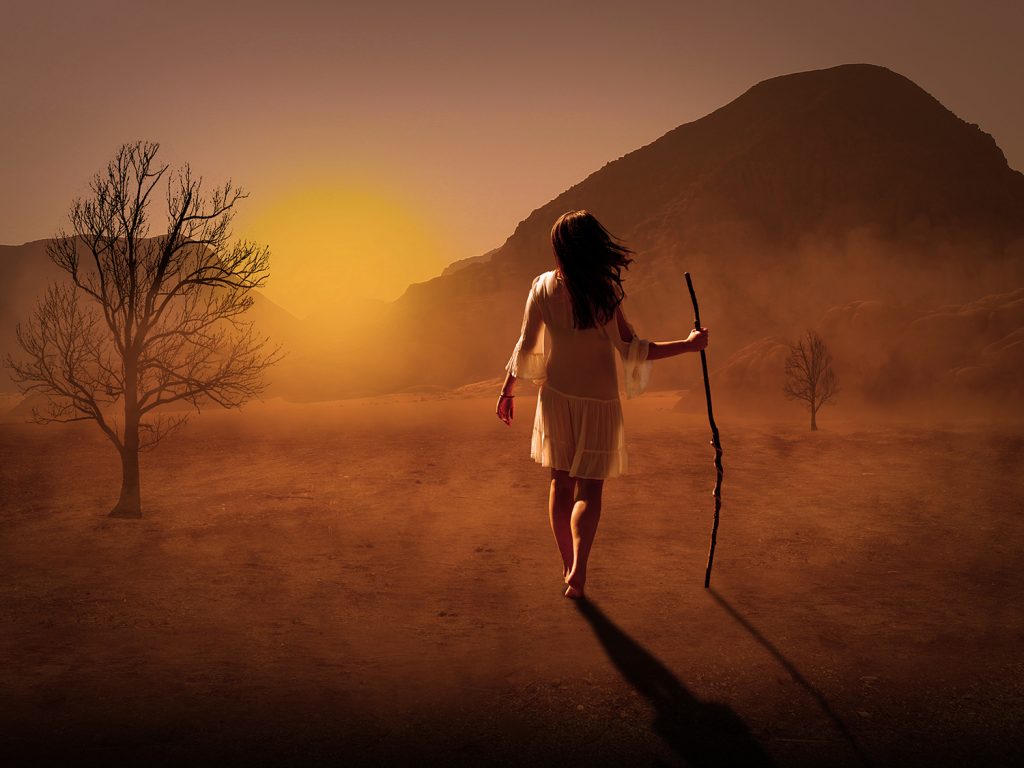
Amber Ambience
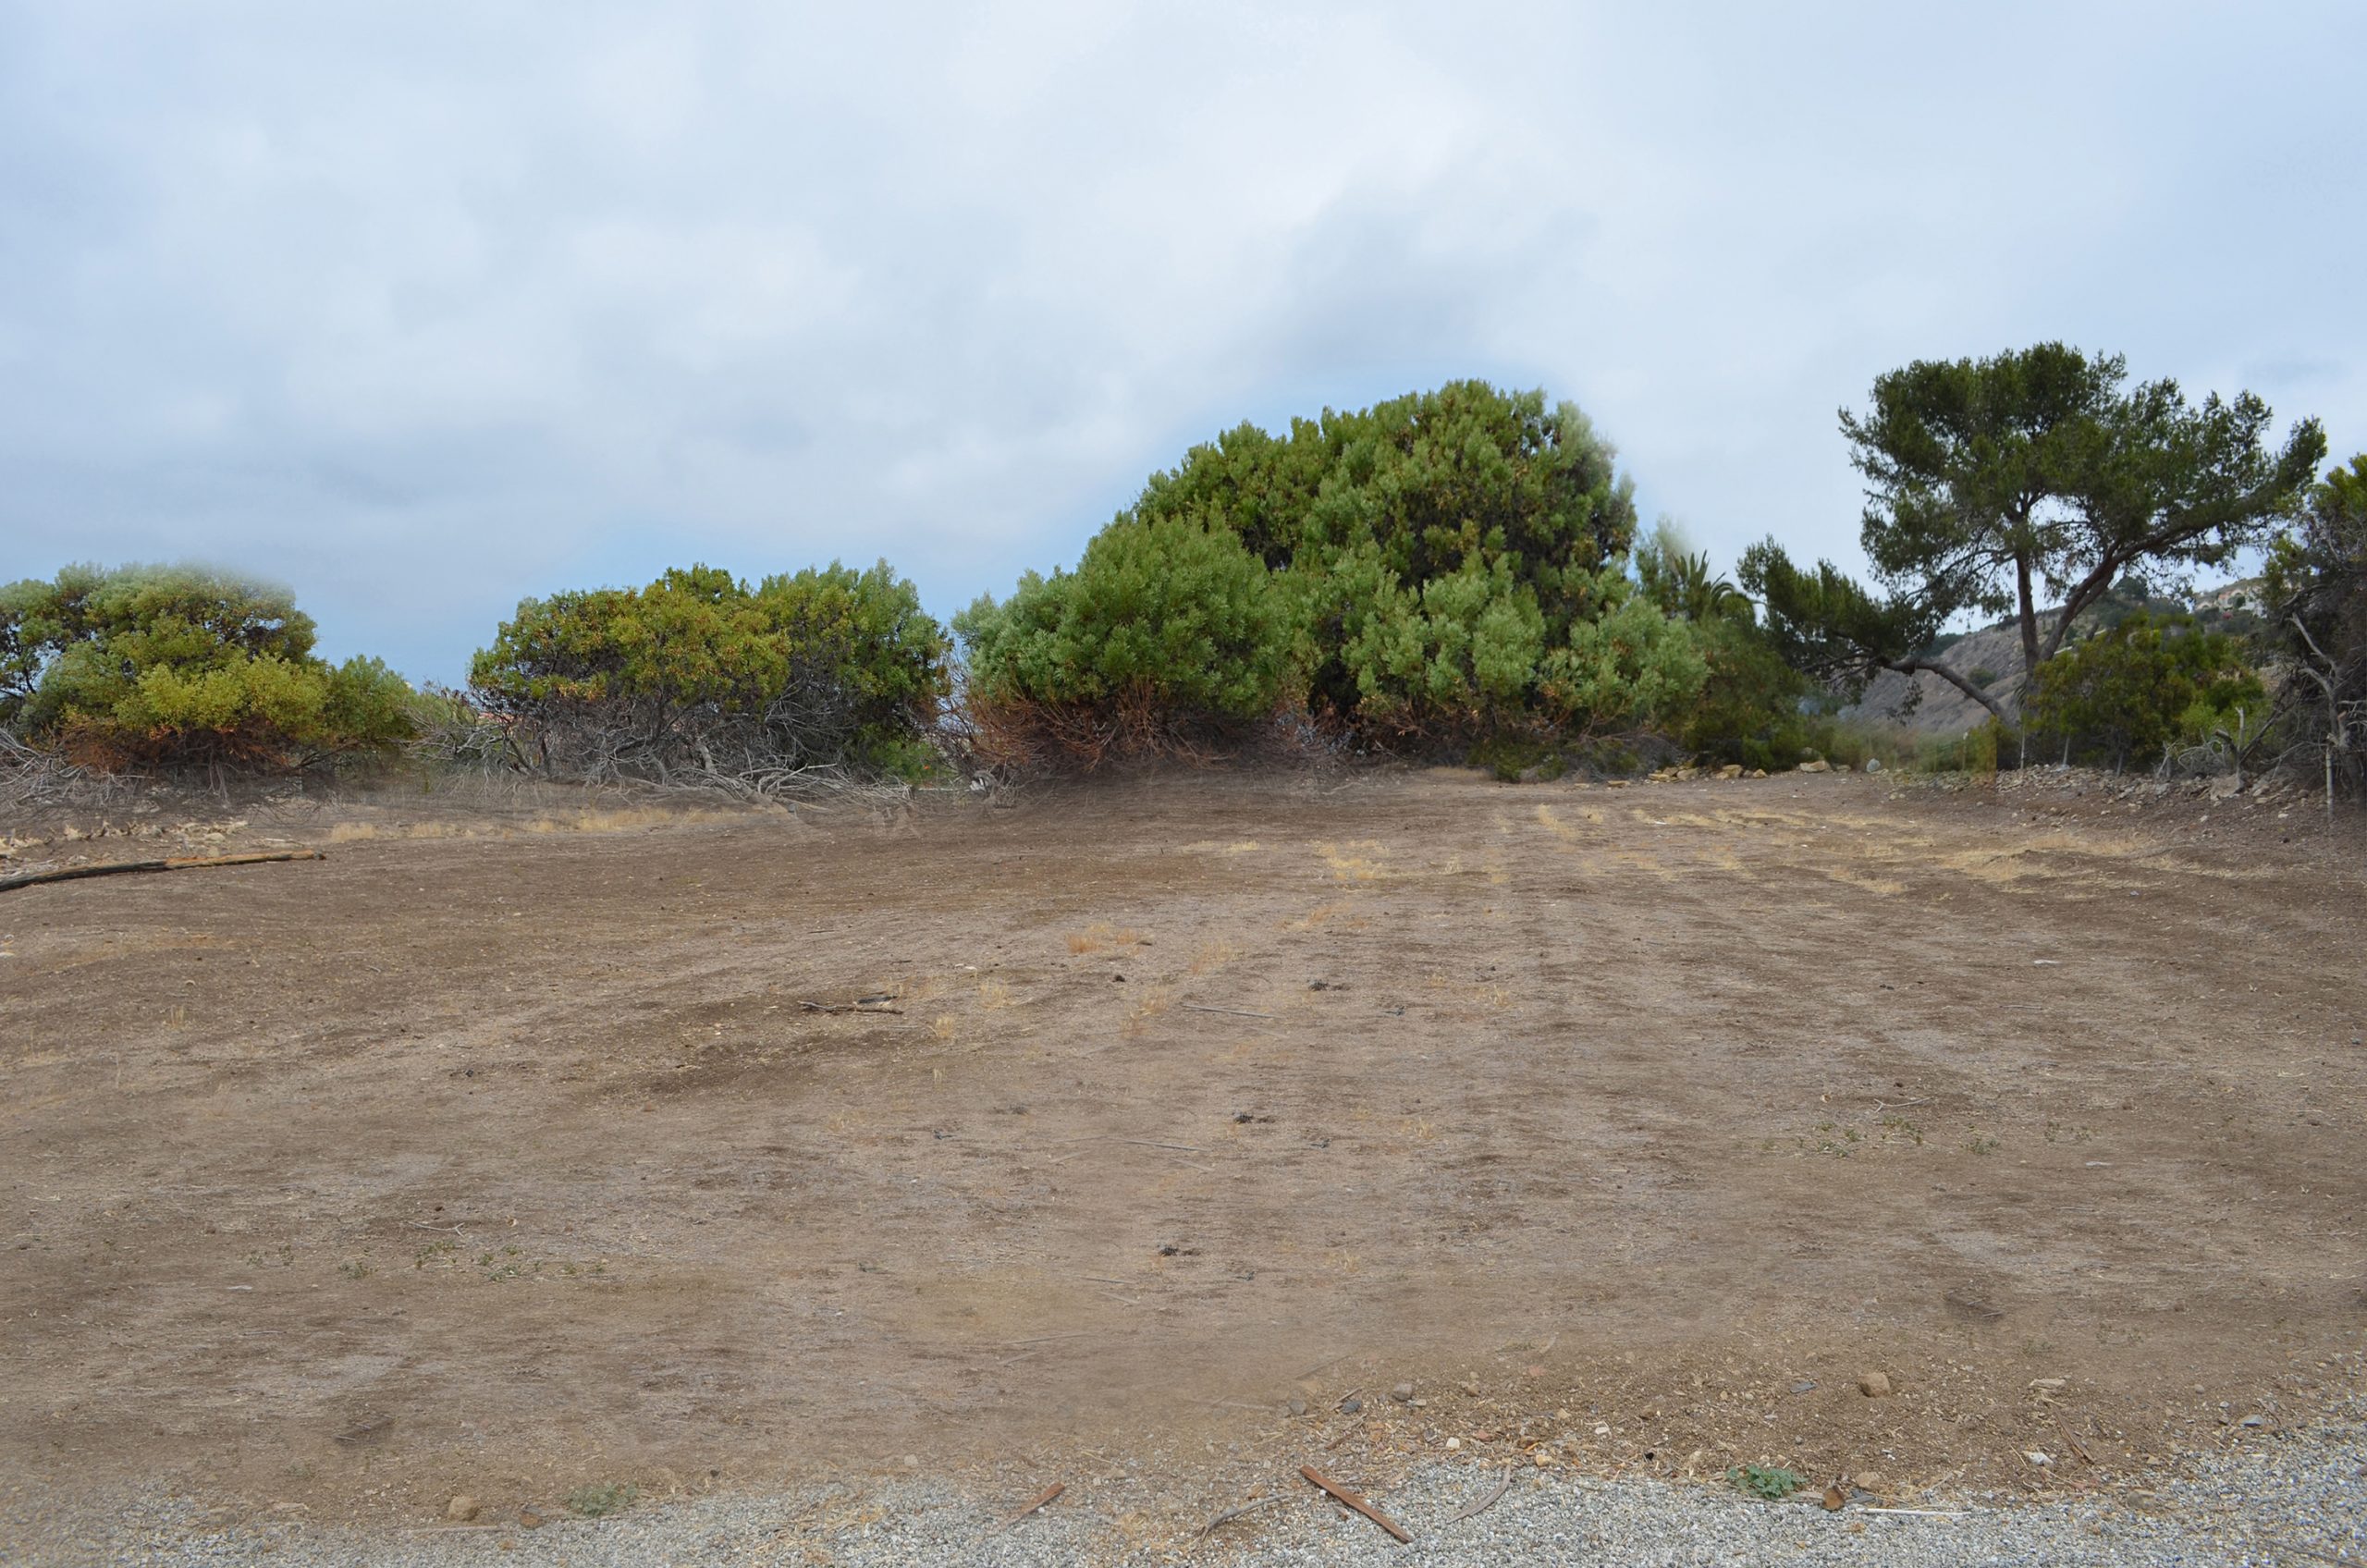
We start with 4 photos : foreground.jpg
and 1 brush, which you can download from : zanuara.com
Start
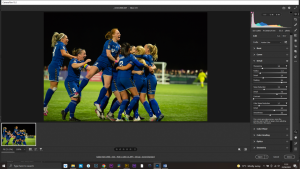
Open a new document.
Click the ‘Create new fill or adjustment layer’ icon at the bottom of the Layers Window and select ‘Solid Colour’. Select a dark sandy neutral colour (#675f4b).
Open the photo ‘foreground.jpg’ and import it into the main document.
Re-size and position at the bottom of the document.
Use the middle top handle along with the ‘Shift’ key to squash the image until the ground covers the bottom third to half of the document.
Click the ‘Add layer mask’ icon at the bottom of the Layers Window.
Select the ‘Gradient Tool’ from the left side toolbar, make sure it’s on black to transparent, click about the bottom of the bushes and drag down about .5″ (12mm) past the bottom of the bushes, repeat until you blend away the bushes.
Click the ‘Create new fill or adjustment layer’ icon at the bottom of the Layers Window and select ‘Colour Balance’, attach this to the layer by ‘Alt’ clicking between the two layers. Adjust the sliders to about : Cyan = +50 Yellow = -30.
Click the ‘Create new fill or adjustment layer’ icon at the bottom of the Layers Window and select ‘Brightness/Contrast’, attach this to the layer by ‘Alt’ clicking between the two layers. Adjust the slider to : Brightness = -90.
Click the ‘Create new layer’ icon at the bottom of the Layers Window, attach this to the layer by ‘Alt’ clicking between the two layers.
Select the ‘Gradient Tool’ from the left side toolbar, make sure it’s on black to transparent, click at the bottom of the image and drag up about 1 inch (25mm).
Adjust ‘opacity’ to darken the very bottom of the foreground.
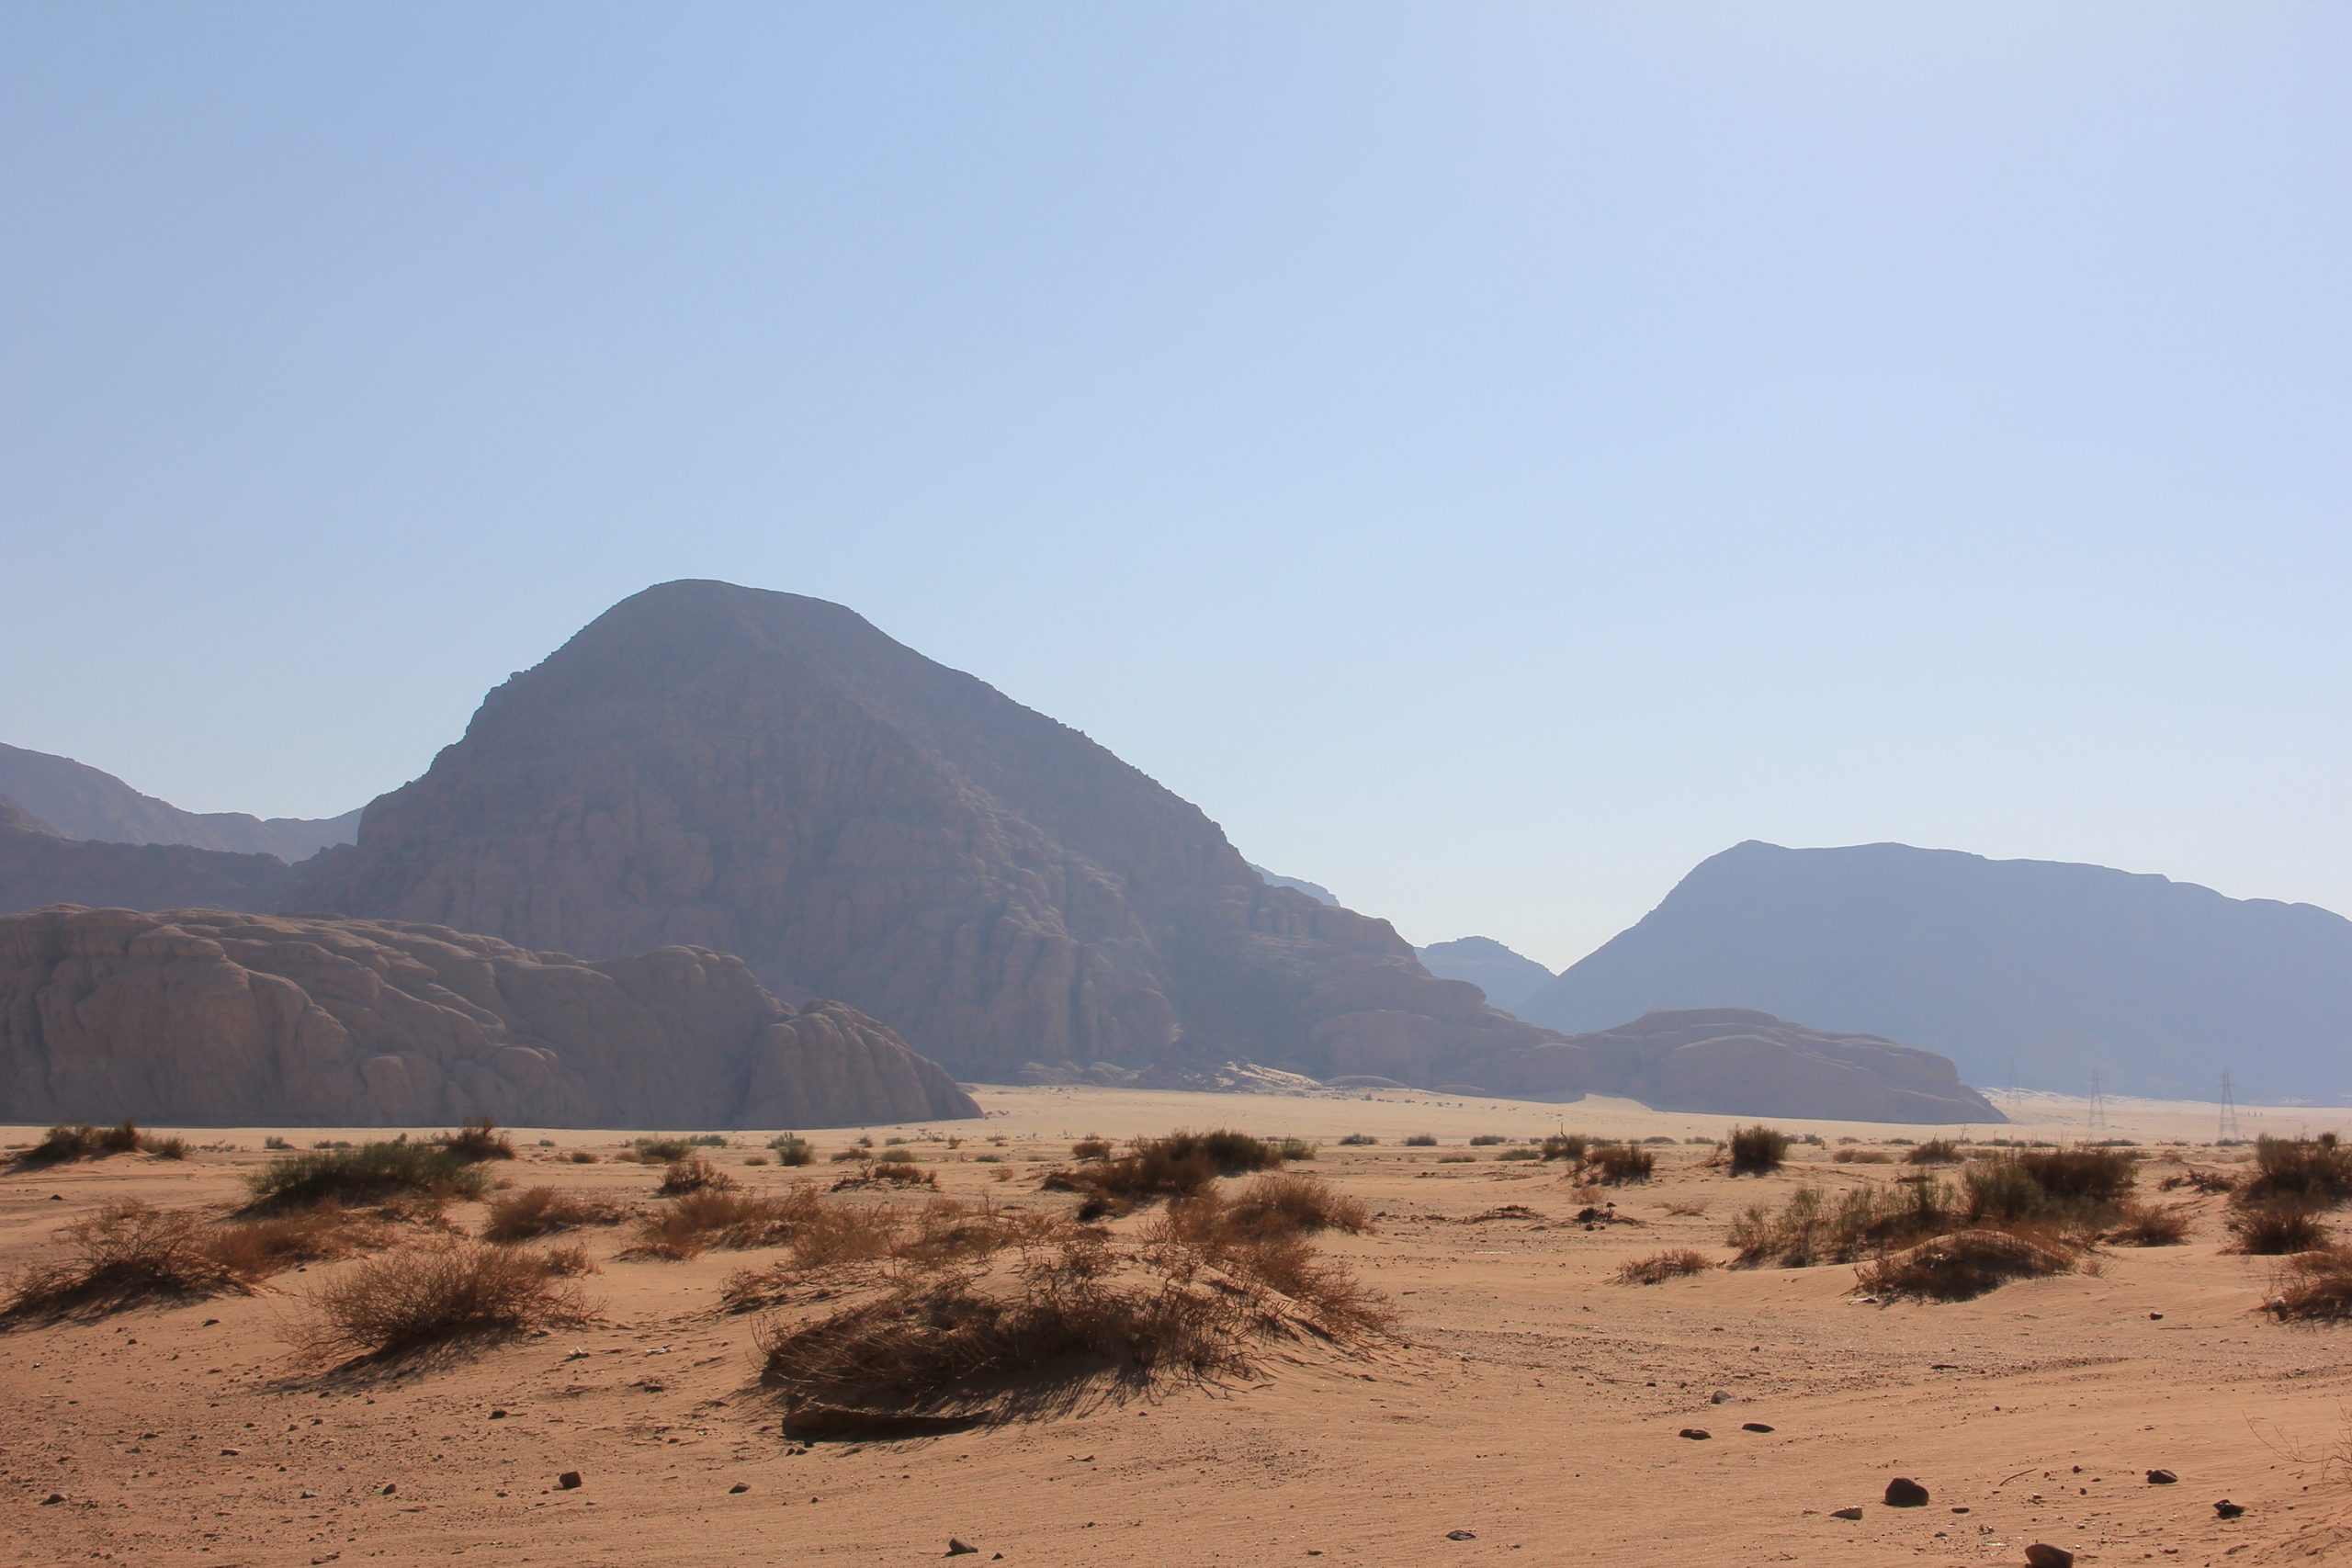
Mountains
Open the photo ‘mountains.jpg’ and import it into the main document, re-size and position in the top half of the document.
Edit>Transform>Flip Horizontal.
Click the ‘Add layer mask’ icon at the bottom of the Layers Window.
Select the ‘Gradient Tool’ from the left side toolbar, make sure it’s on black to transparent, click about 1 inch (25mm) below the base of the mountains and drag up just past the bottom of the mountains, repeat until you blend into the foreground.
Click the ‘Create new fill or adjustment layer’ icon at the bottom of the Layers Window and select ‘Colour Balance’, attach this to the layer by ‘Alt’ clicking between the two layers. Adjust the sliders to : Cyan and Yellow to match in with the bottom layer.
Click the ‘Create new fill or adjustment layer’ icon at the bottom of the Layers Window and select ‘Brightness/Contrast’, attach this to the layer by ‘Alt’ clicking between the two layers. Adjust the slider to about : Brightness = -90.
Click the ‘Create new layer’ icon at the bottom of the Layers Window,
Click ‘foreground colour’ and choose a orange colour (#e3953b).
With a soft big brush paint in the sun between the mountains, copy this layer by pressing ‘Ctrl+j’, adjust ‘opacity’ to about 50%.
Select the top ‘sun’ layer and :
Layers>Merge Down to combine the two ‘sun’ layers.
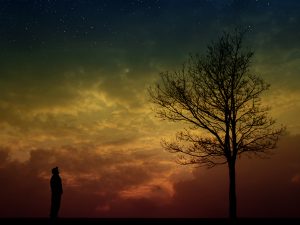
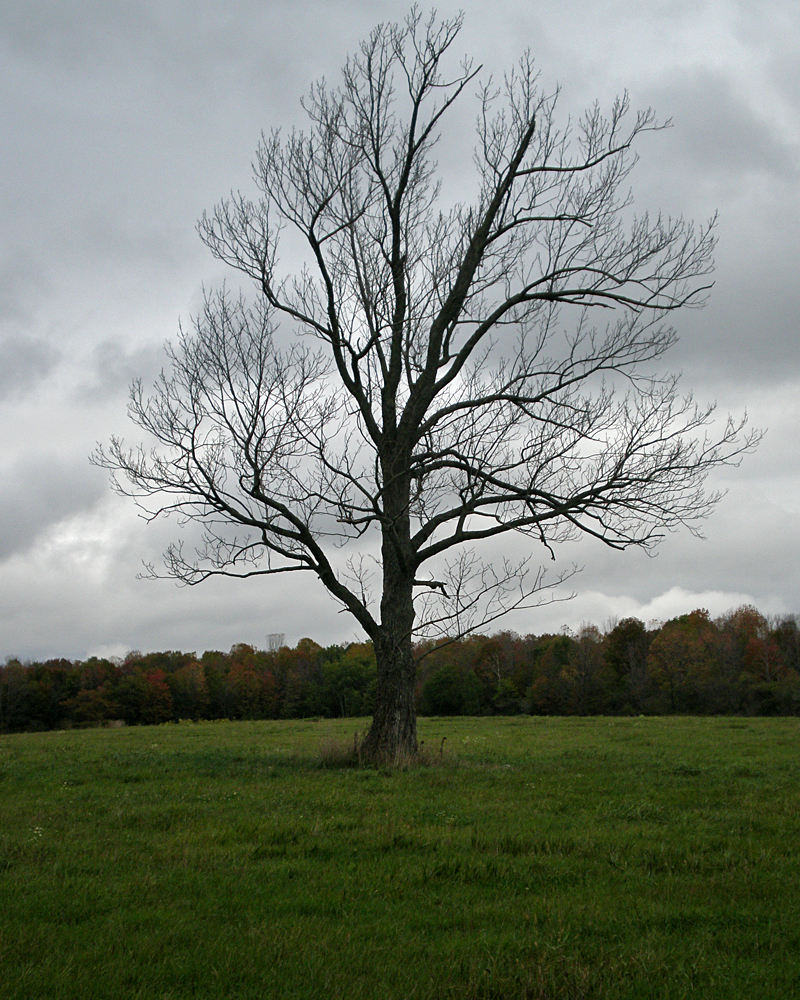
Tree
Open the photo ‘tree.jpg’.
Select>Colour Range
Select the sky, you may have to click a few clouds, once selected click ‘OK’
Select>Inverse
Place the selection on it’s own layer by pressing ‘Ctrl+j’.
Click the ‘Add layer mask’ icon at the bottom of the Layers Window.
With a black, 90% hardness brush, paint away the bits not required.
Import this image into the main document and move to the top of the layers stack.
Image>Adjustment>Hue/Saturation – move the ‘lightness’ to about -80 to create a silhouette.
Resize and position in the left side of the image.
Click the ‘Add layer mask’ icon at the bottom of the Layers Window.
Select the ‘Gradient Tool’ from the left side toolbar, make sure it’s on black to transparent at 30% opacity, click the bottom of the tree and drag to the top, do a smaller gradient at the base of the tree, repeat until it blend into the foreground.
Make a copy of this layer by pressing ‘Ctrl+j’.
Resize to about a quarter of the original size and position in the right side of the image.
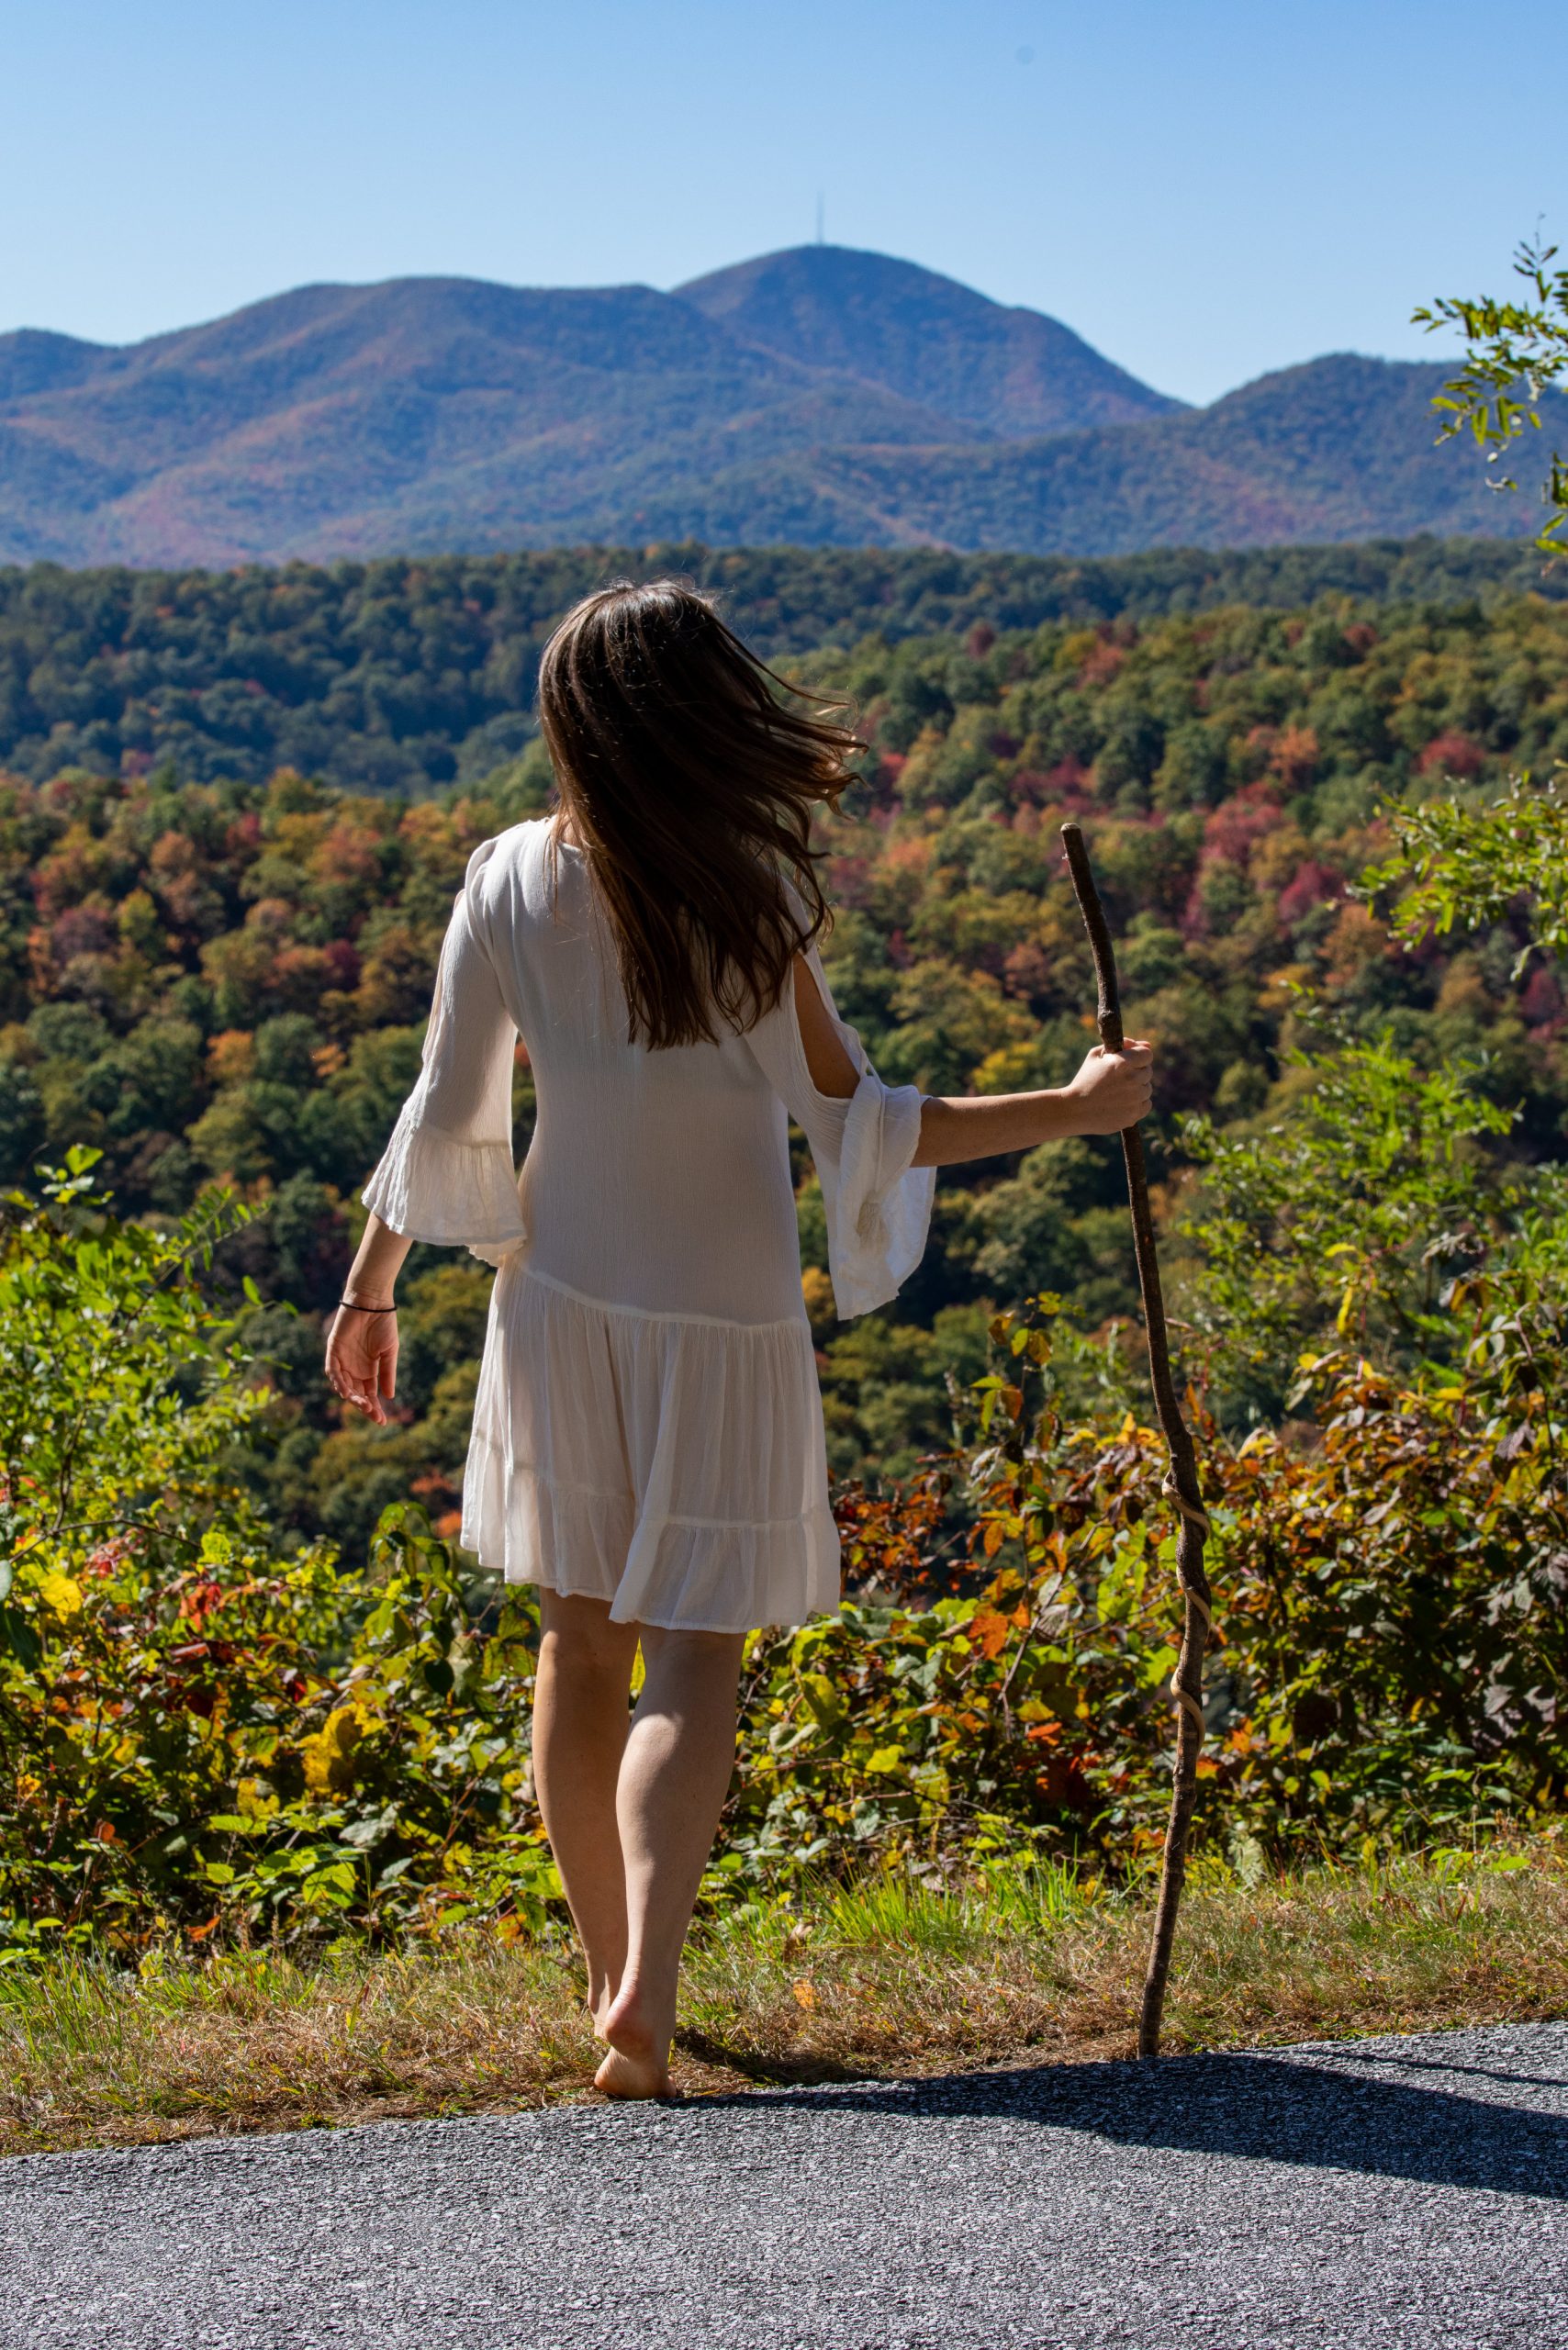
Model
Open the photo ‘model.jpg’.
Select>Subject.
Tweak the selection using the ‘quick selection tool’ on the left side toolbar (by keeping ‘Shift’ pressed you can add to the selection or by keeping ‘Alt’ pressed, delete from the selection).
Click ‘Select and Mask’ from the second top menu bar.
Select ‘Refine Brush’ from the left side toolbar (second from the top) and run it around her hair.
‘Feather’ by 1 pixel.
‘Shift Edge’ -10%.
Tick ‘Decontaminate Colours’ than ‘OK’.
If you are happy with the selection, select the ‘Layer Mask’, right click and select ‘Apply Layer Mask’.
Import this layer into the main document.
Re-size and position the model in the middle of the image.
Make a copy of this layer by pressing ‘Ctrl+j’.
Select the bottom of the two layers and :
Image>Adjustment>Hue/Saturation – move the ‘lightness’ all the way over to the left.
Edit>Adjustment>Flip Vertical
Move the shadow into position below the model.
If you hold the ‘Ctrl’ key down it will enter ‘distort mode’ then by dragging the ‘lower centre handle’ to the right you can distort the shadow to get the correct angle to the sun then drag the upper right handles to connect up the ‘feet’ and ‘stick’.
Filter>Blur>Gaussian Blur – round about 14 should do it.
Click the ‘Add layer mask’ icon at the bottom of the Layers Window.
Select the ‘Gradient Tool’ from the left side toolbar, make sure it’s on black to transparent at 30% opacity, click the bottom of the shadow and drag to the top (the feet) of the shadow, repeat as necessary (this makes the shadow look natural, darker nearer the subject).
Select the top ‘model’ layer
Click the ‘Create new fill or adjustment layer’ icon at the bottom of the Layers Window and select ‘Colour Balance’, attach this to the layer by ‘Alt’ clicking between the two layers. Adjust the Cyan and Yellow sliders to match her colour into the photo.
Click the ‘Create new fill or adjustment layer’ icon at the bottom of the Layers Window and select ‘Levels’, attach this to the layer by ‘Alt’ clicking between the two layers. Adjust the middle slider to darken the model and match her into the photo.
Select the ‘layer mask’ and with a black soft brush paint back the highlights on the model.
Click the ‘Create new fill or adjustment layer’ icon at the bottom of the Layers Window and select ‘Solid Colour’, Select a sandy colour (#d0831f). Change ‘blending mode’ to ‘soft light’ and reduce ‘opacity’ to around 60%.
Click the ‘Create new fill or adjustment layer’ icon at the bottom of the Layers Window and select ‘Photo Filter’, select ‘Warming Filter (85) and set density to about 80%.
Dust
Highlight the ‘top tree’ layer.
Click the ‘Create new layer’ icon at the bottom of the Layers Window.
Select ‘foreground colour’ on the left toolbar and select a lighter sandy colour (#bdaf74).
With a large soft brush (about the size of the model) click to paint a large fuzzy circle behind the model.
Select the ‘move’ tool from the left side toolbar (top one) and while pressing ‘shift’ drag out the sides of the blotch until it reaches the edges of the image and compress it down to keep it between the model’s feet and the base of the mountains.
Adjust ‘opacity’ to about 20%.
Click the ‘Create new layer’ icon at the bottom of the Layers Window.
Select the ‘brush’ tool from the left side toolbar, click the down arrow to the right of the brush size on the second top menu bar and open ‘AZBrushes’ then open ‘Effects’ and select ‘CLOD 1’ (the first brush).
Set the brush opacity to 10% and run the brush across the middle of the image.
Repeat with another layer and a slightly lighter sandy colour if necessary.
Finishing
Select the top layer in the ‘layers stack’.
Click the ‘create new layer’ icon at the bottom of the ‘layers window’ and move it to the top of the ‘layers stack’.
With a large soft black brush at 20% opacity – paint in a vignette, repeat until you get the desired effect.


